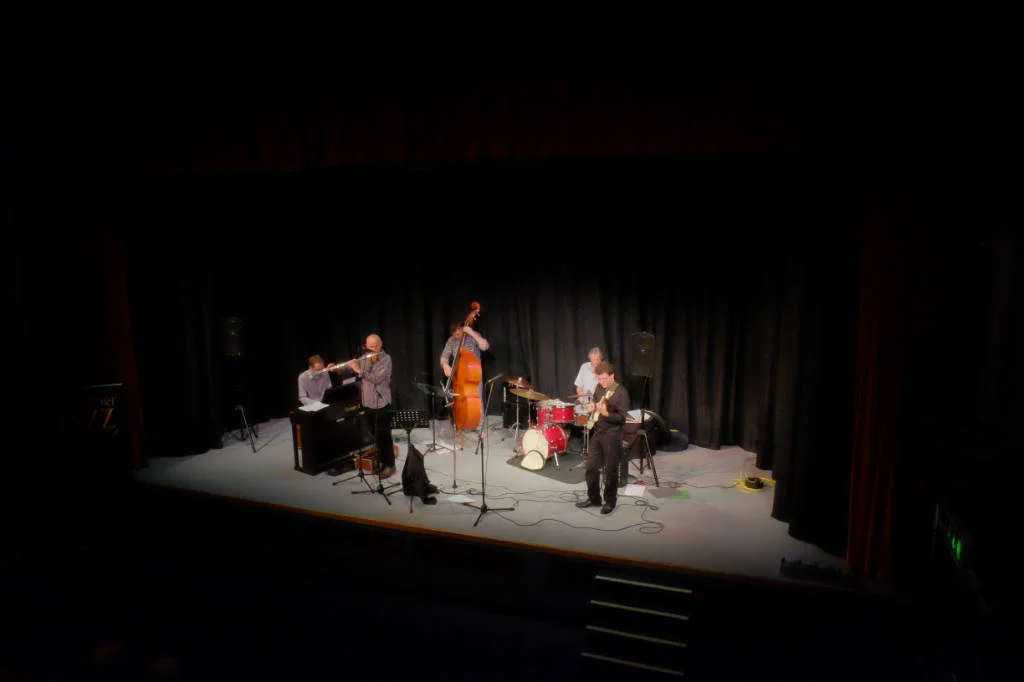
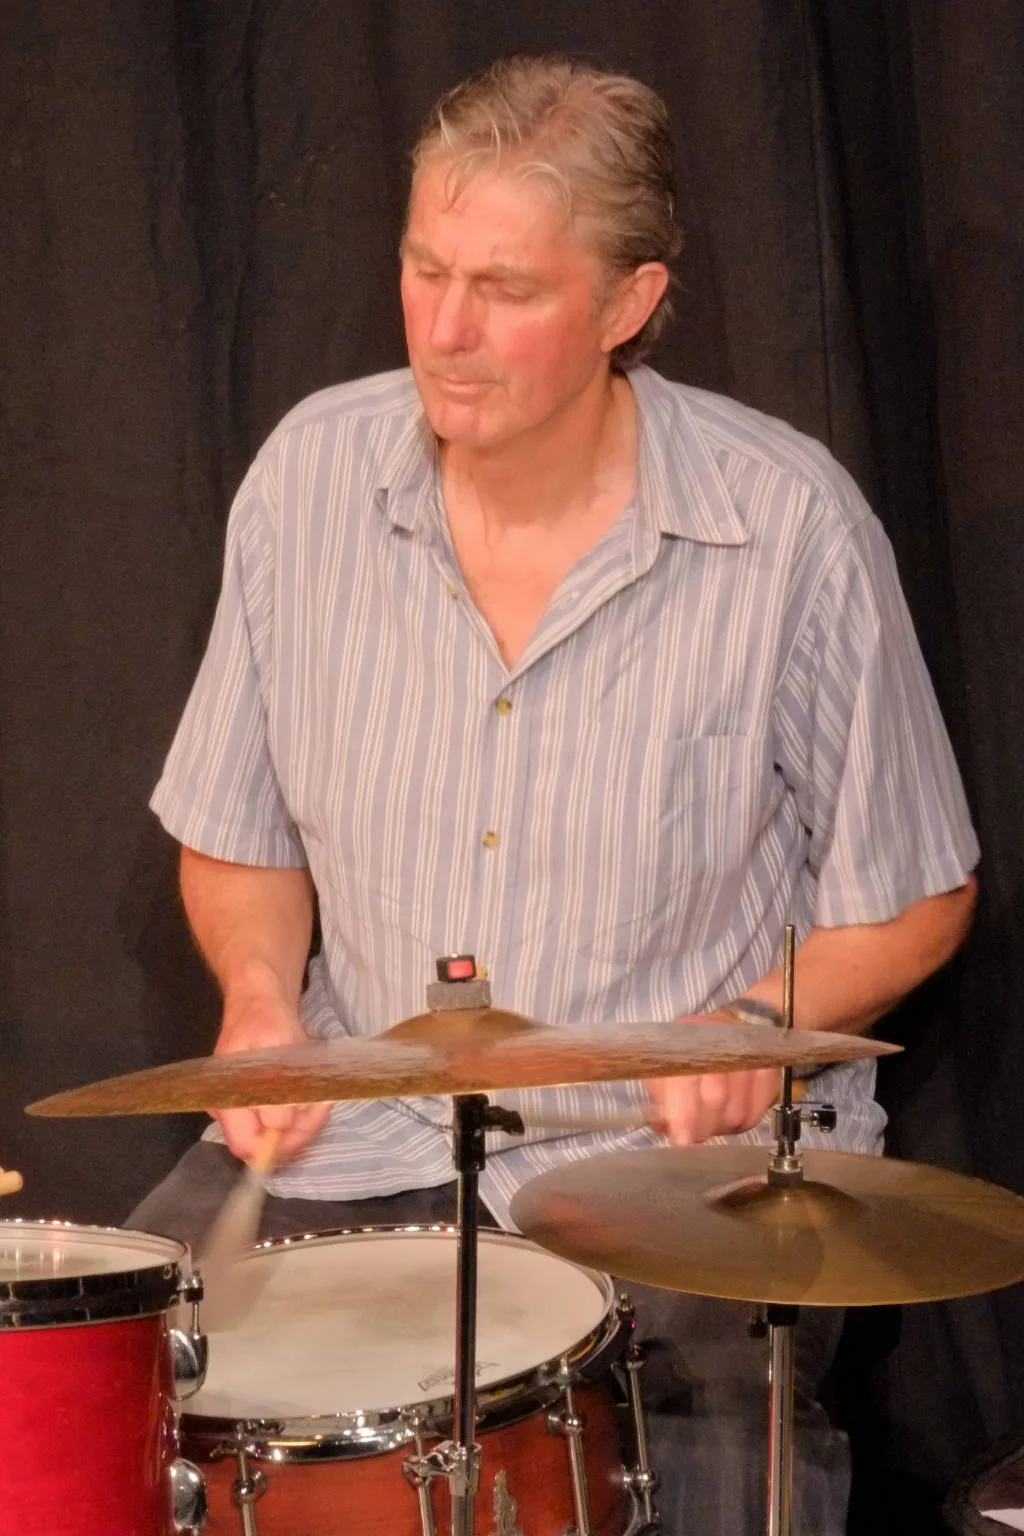
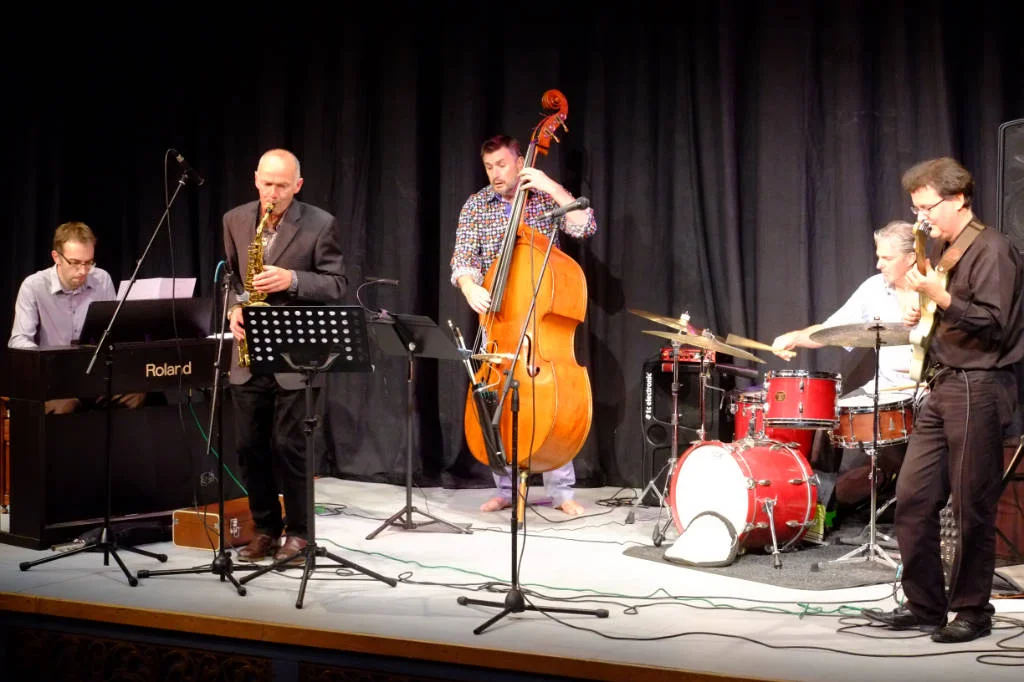
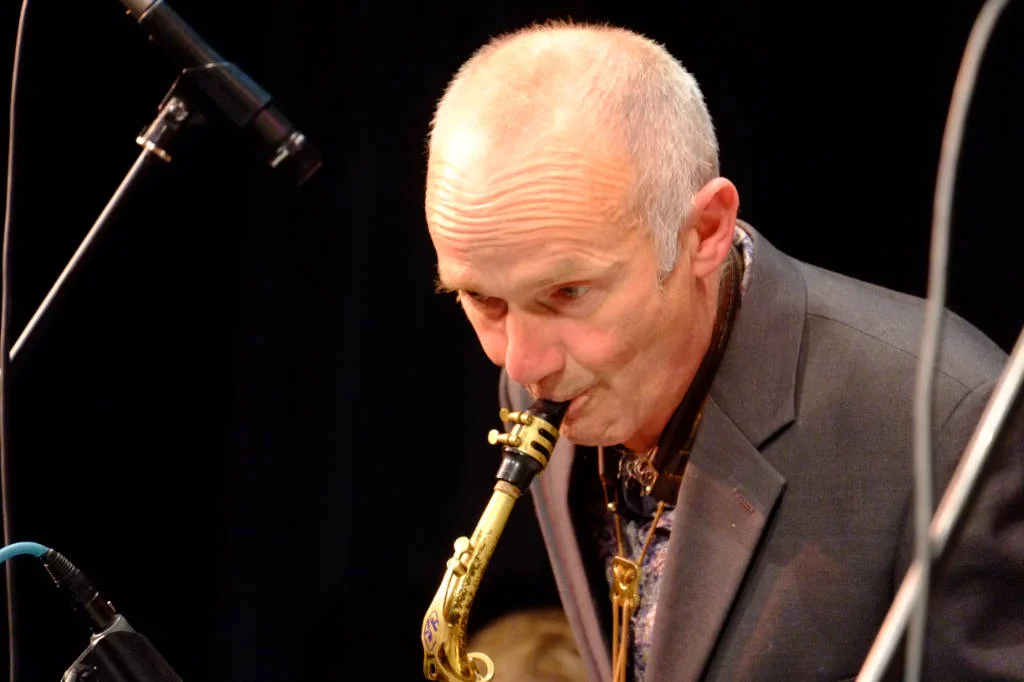
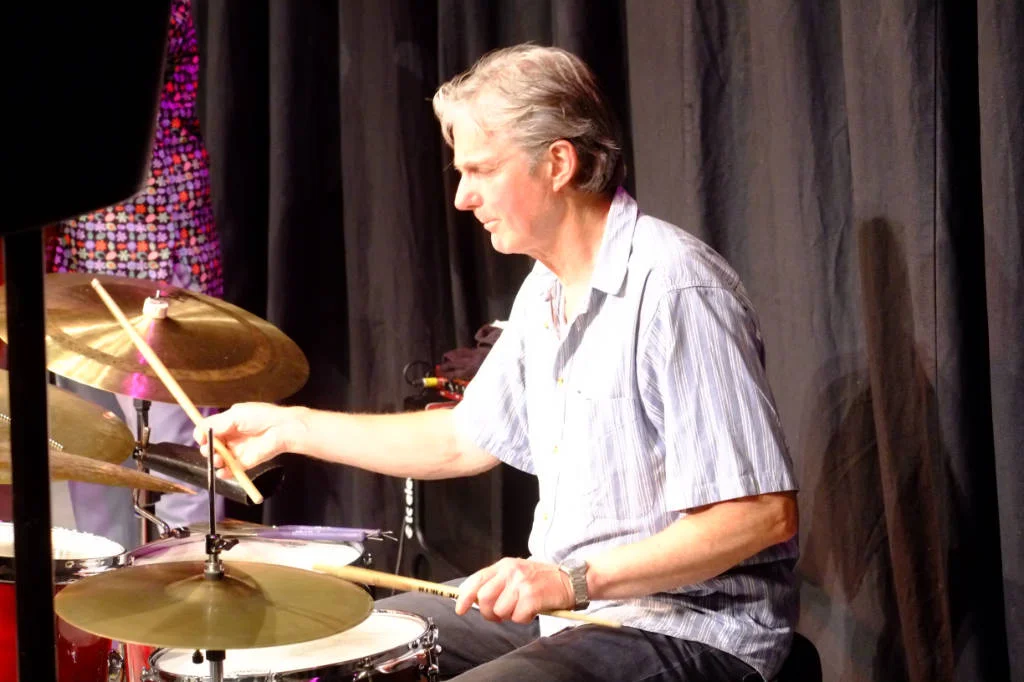
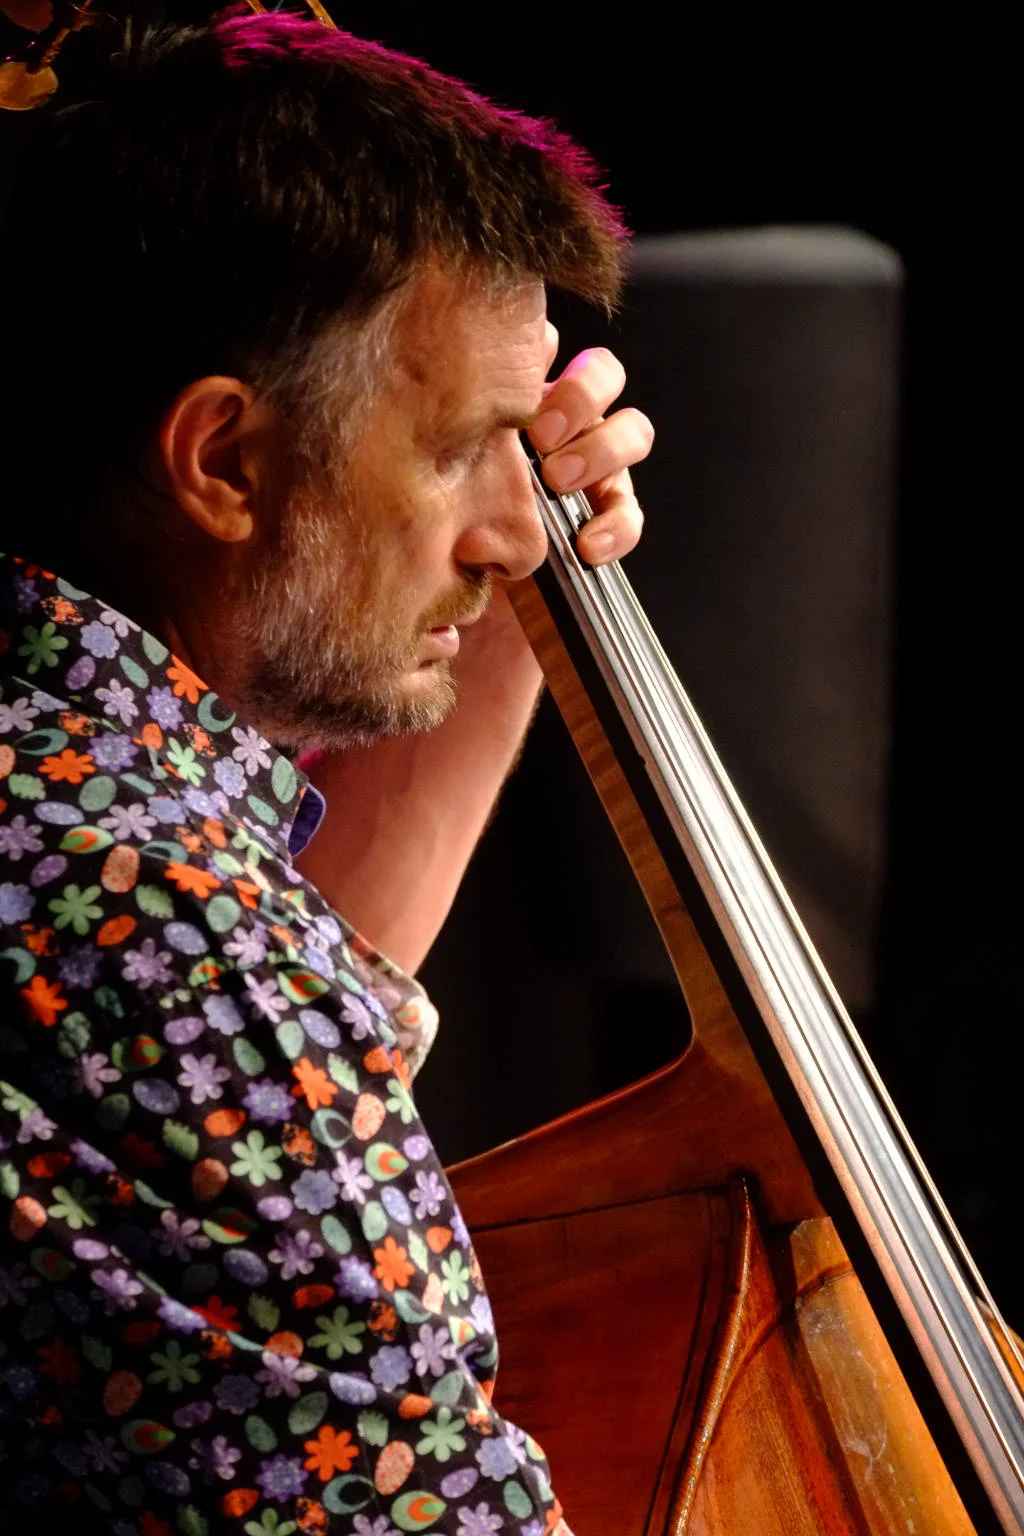
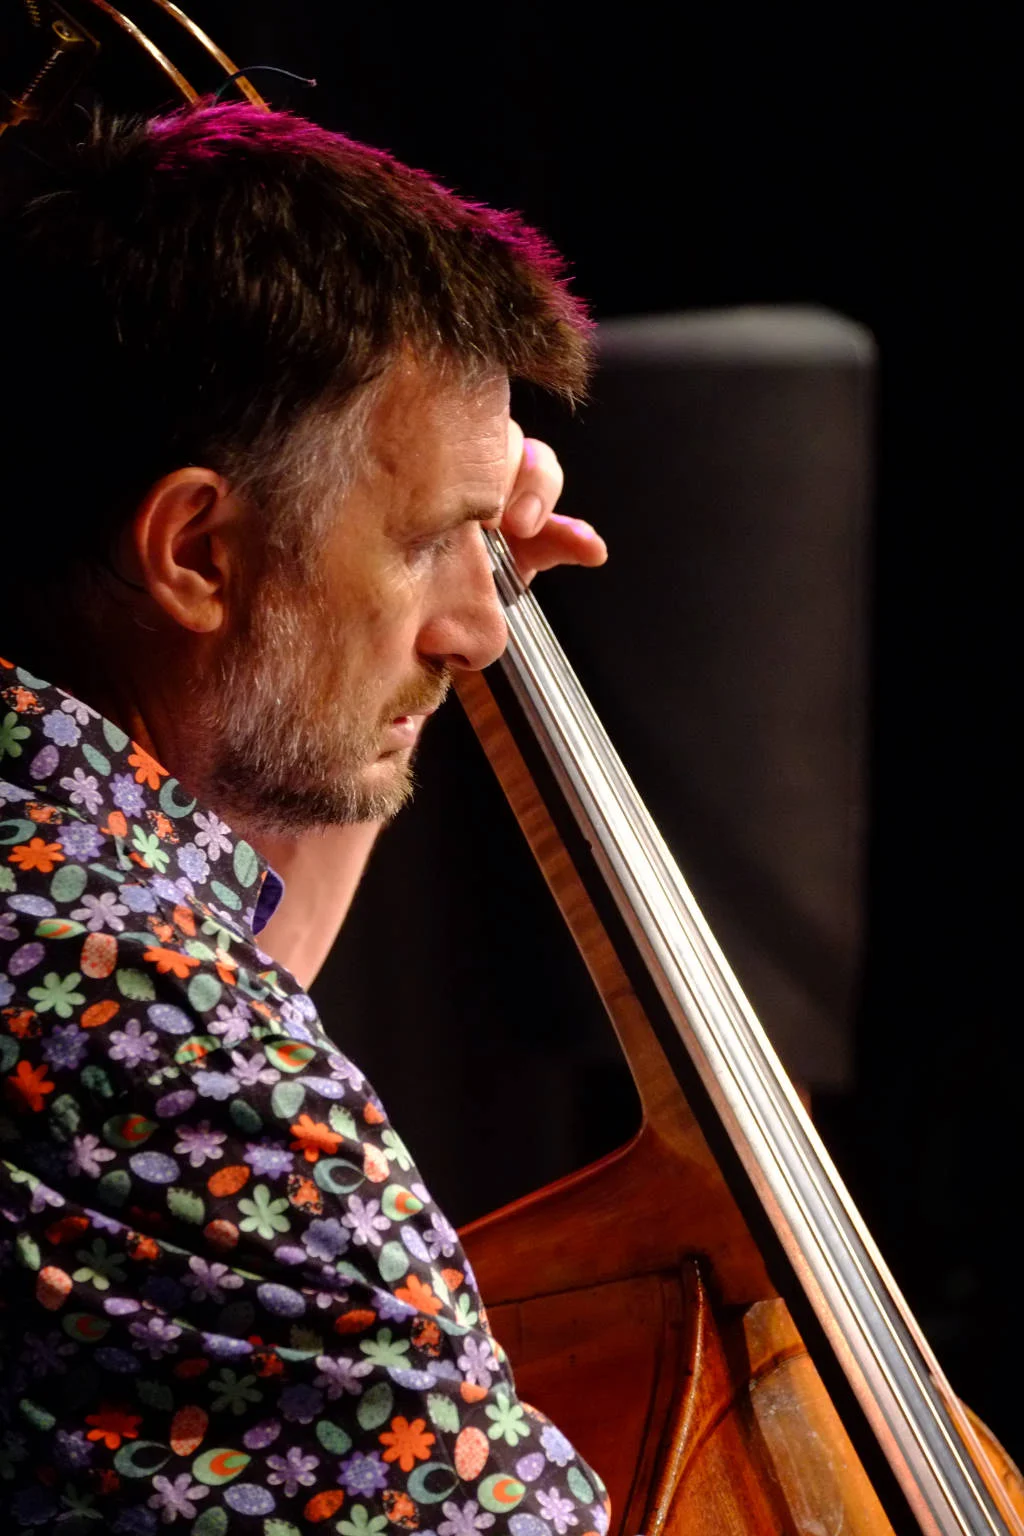
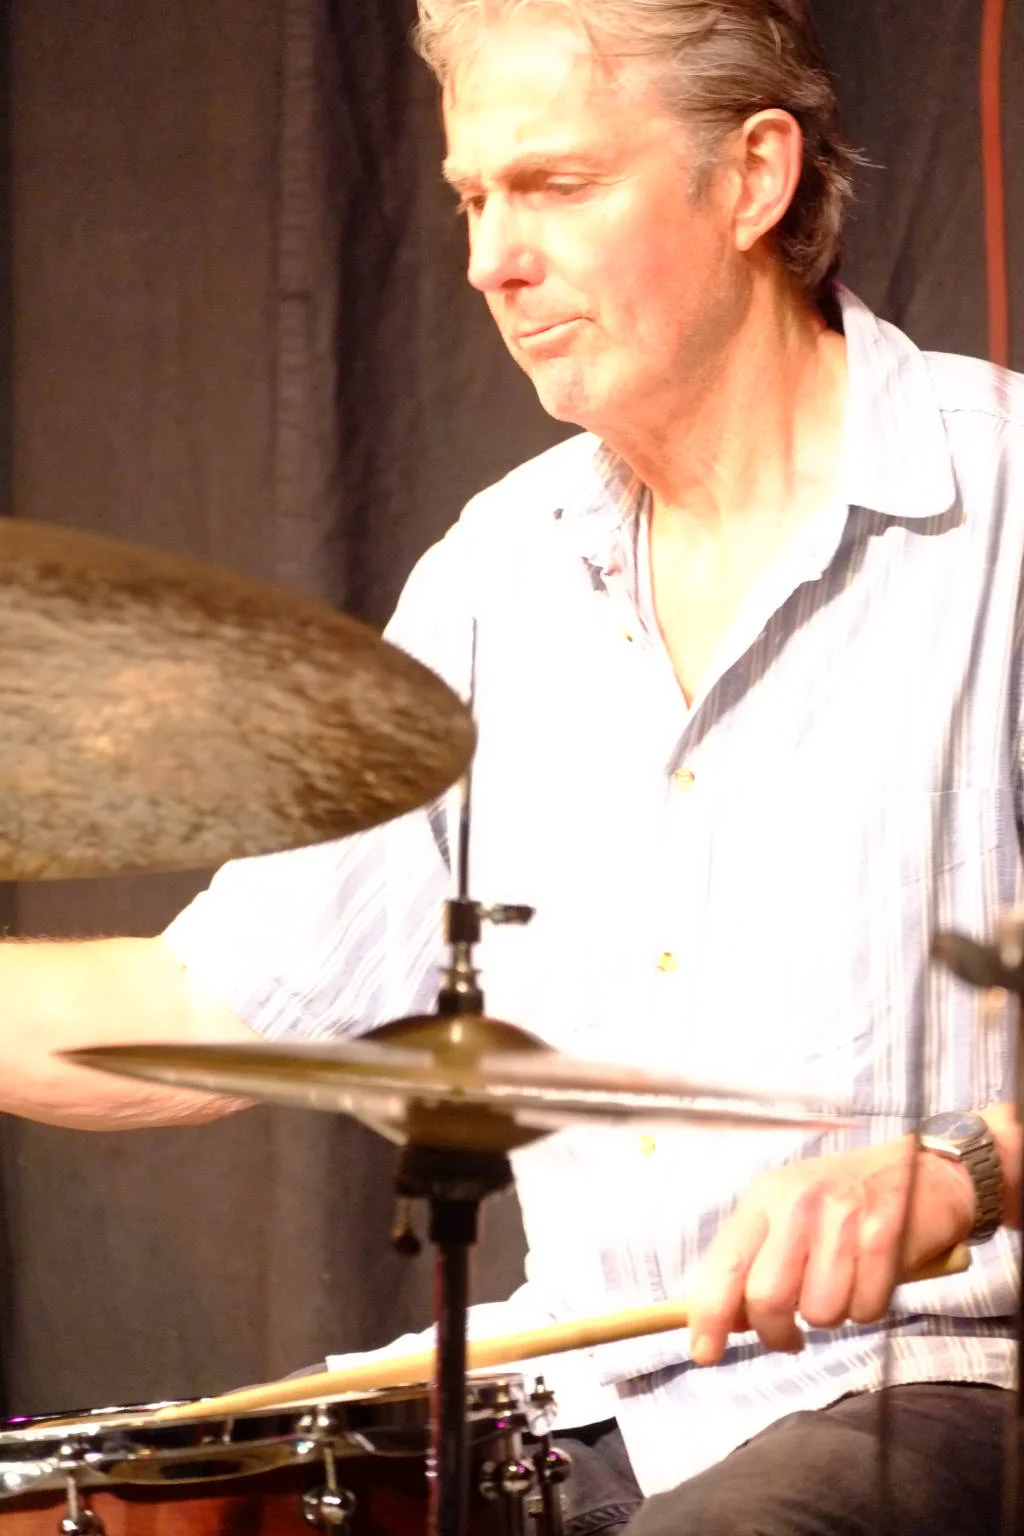
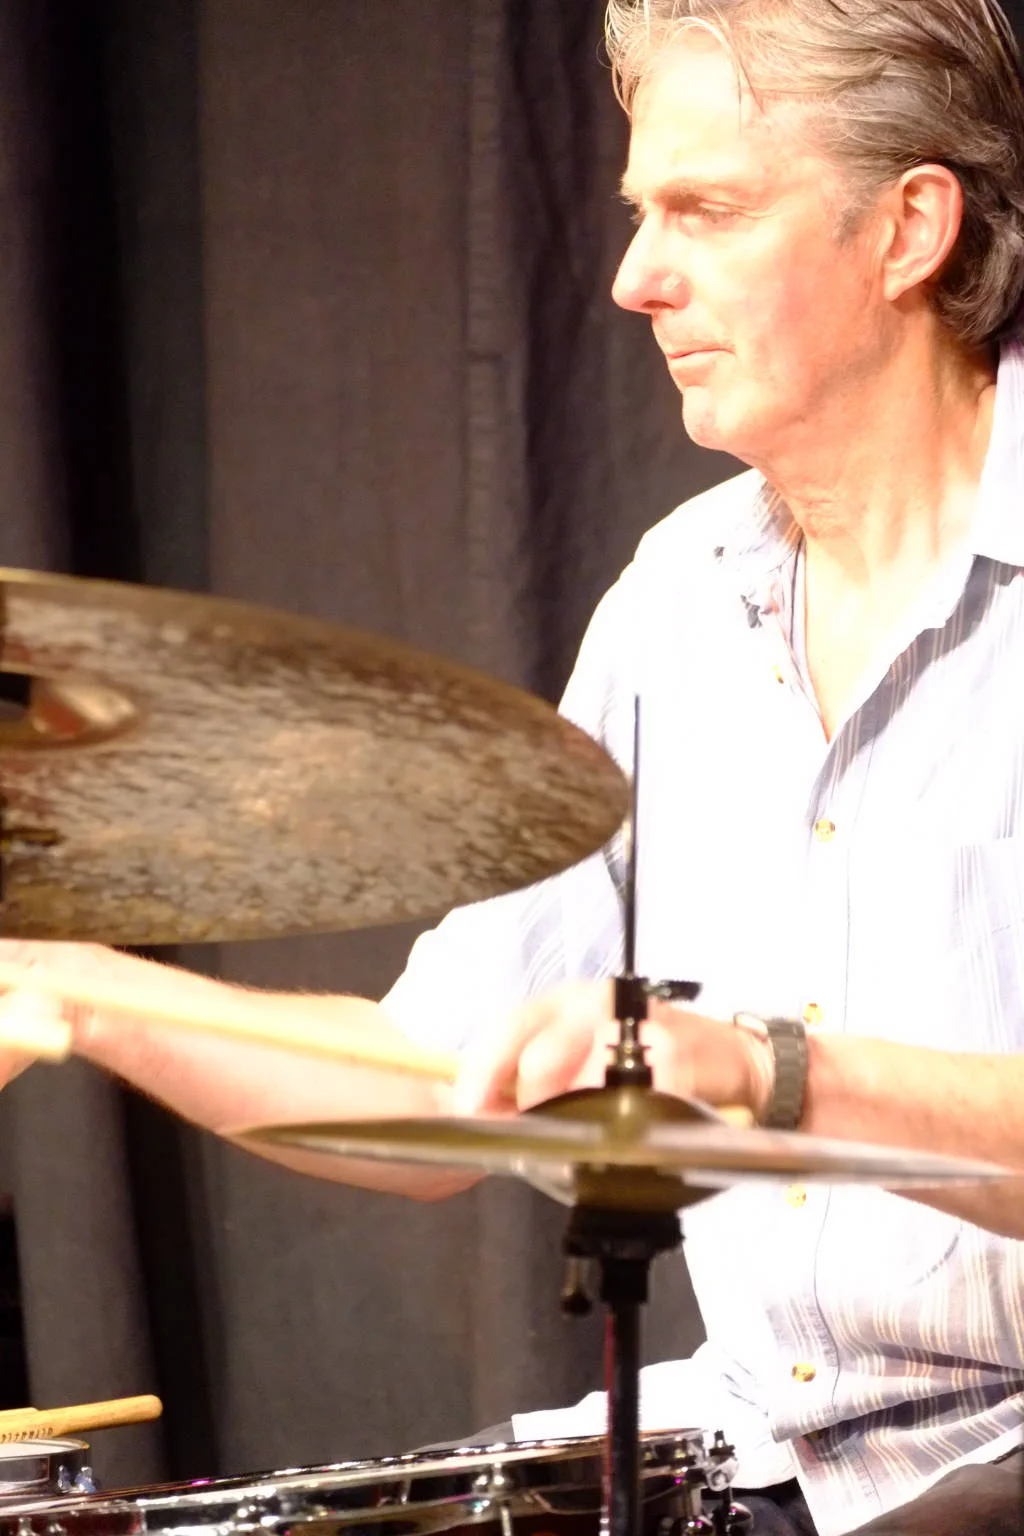
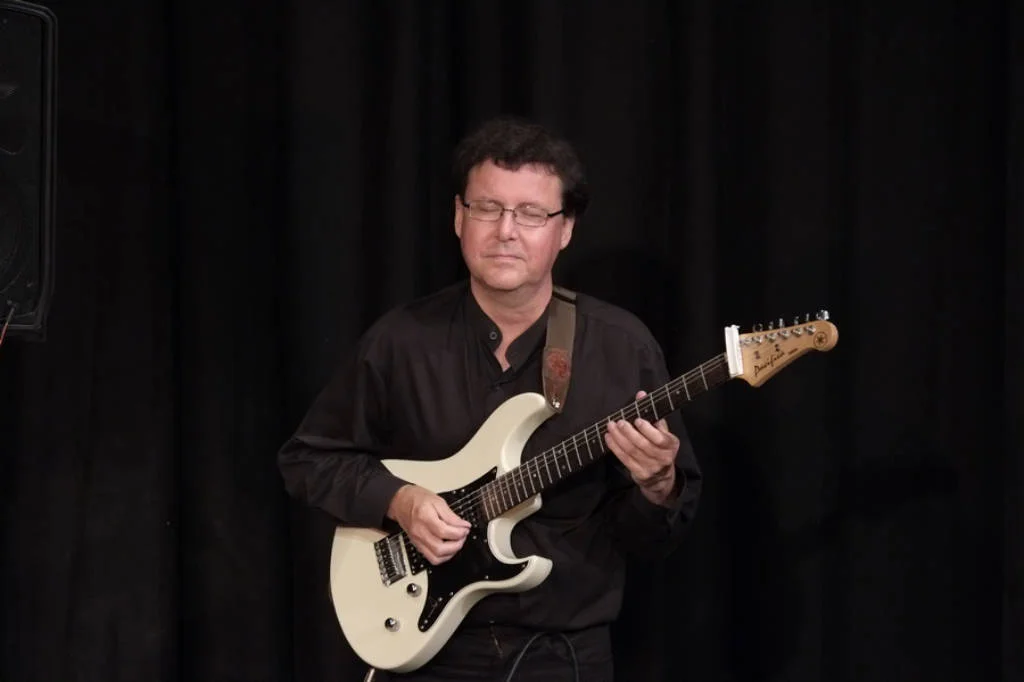
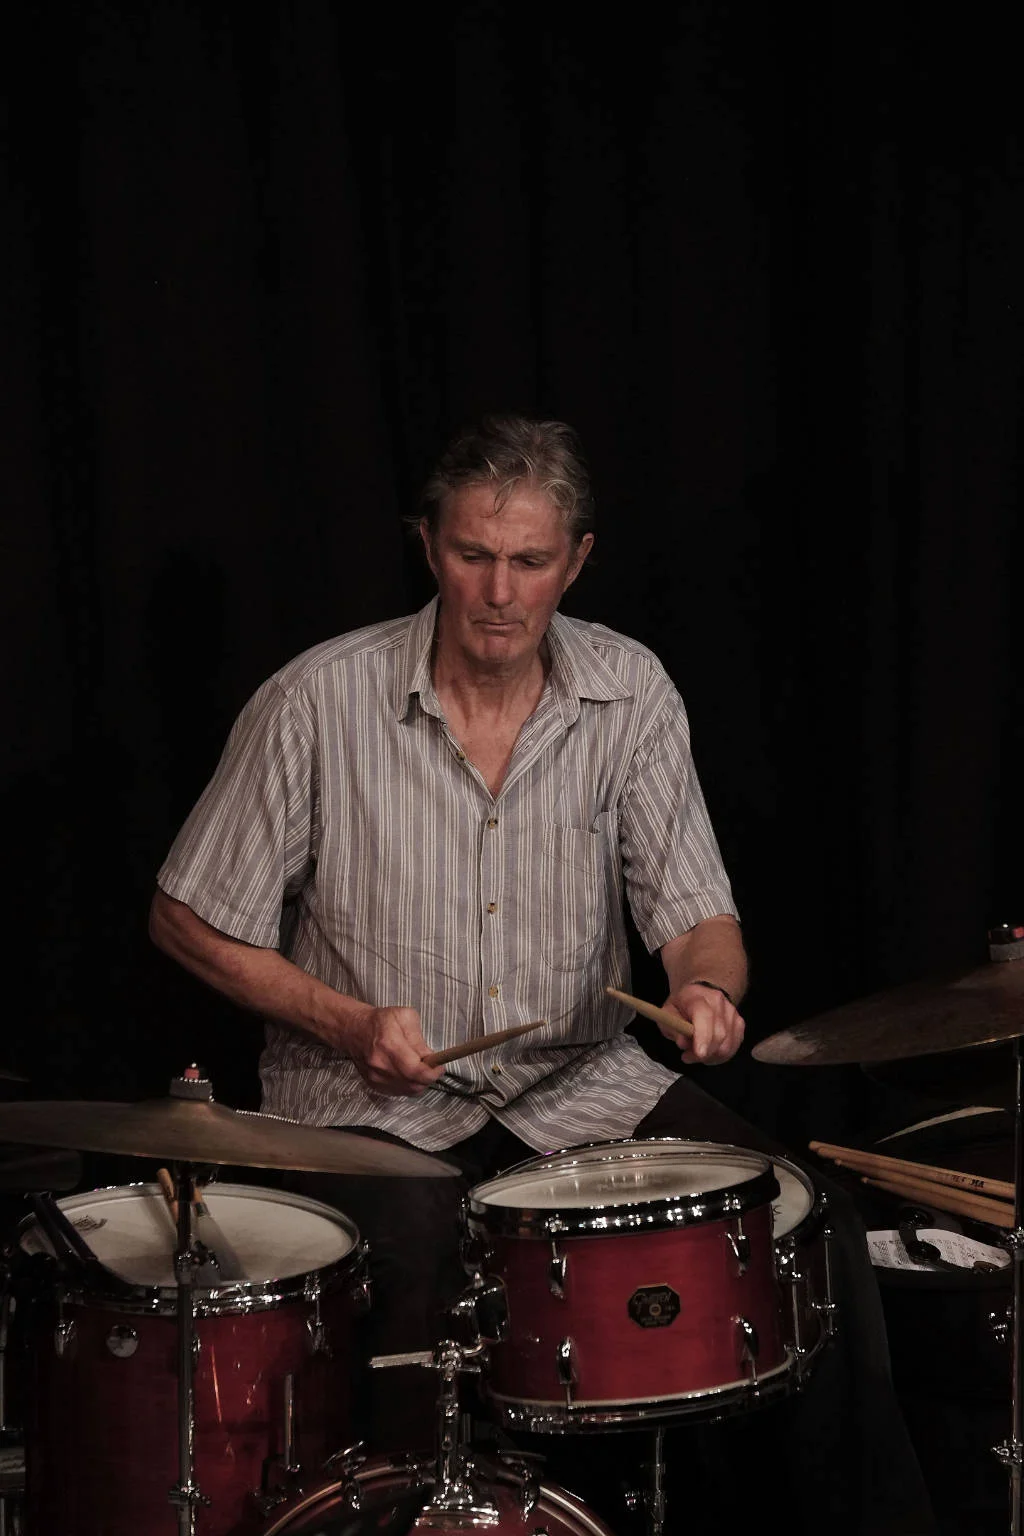
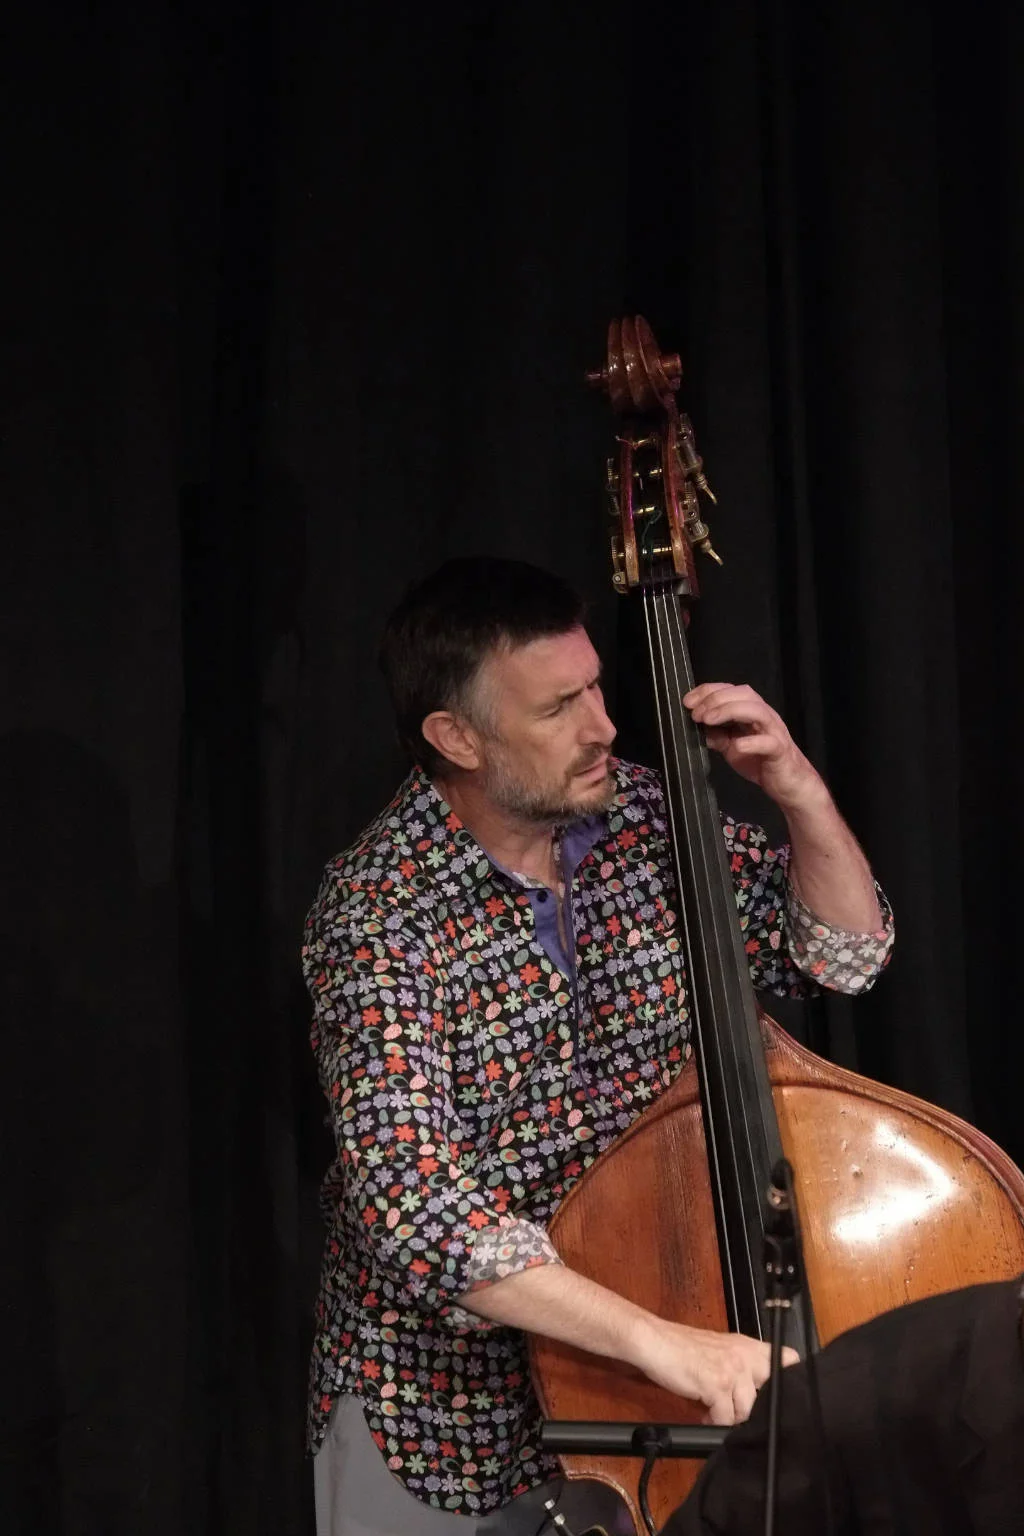
Photo: Bob White
Set: Bob White Images
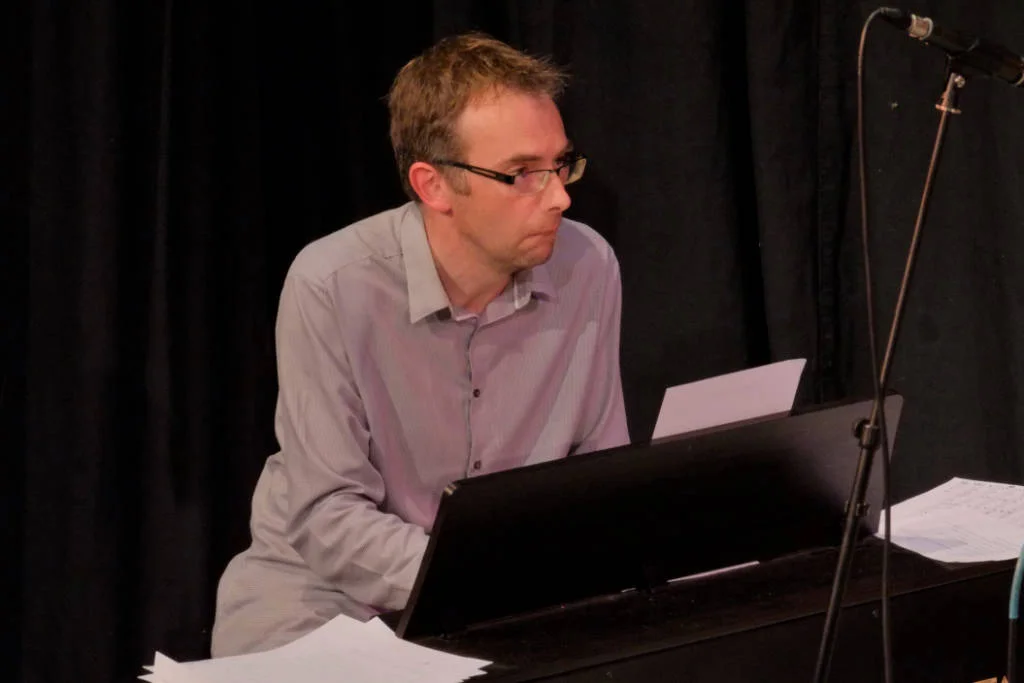
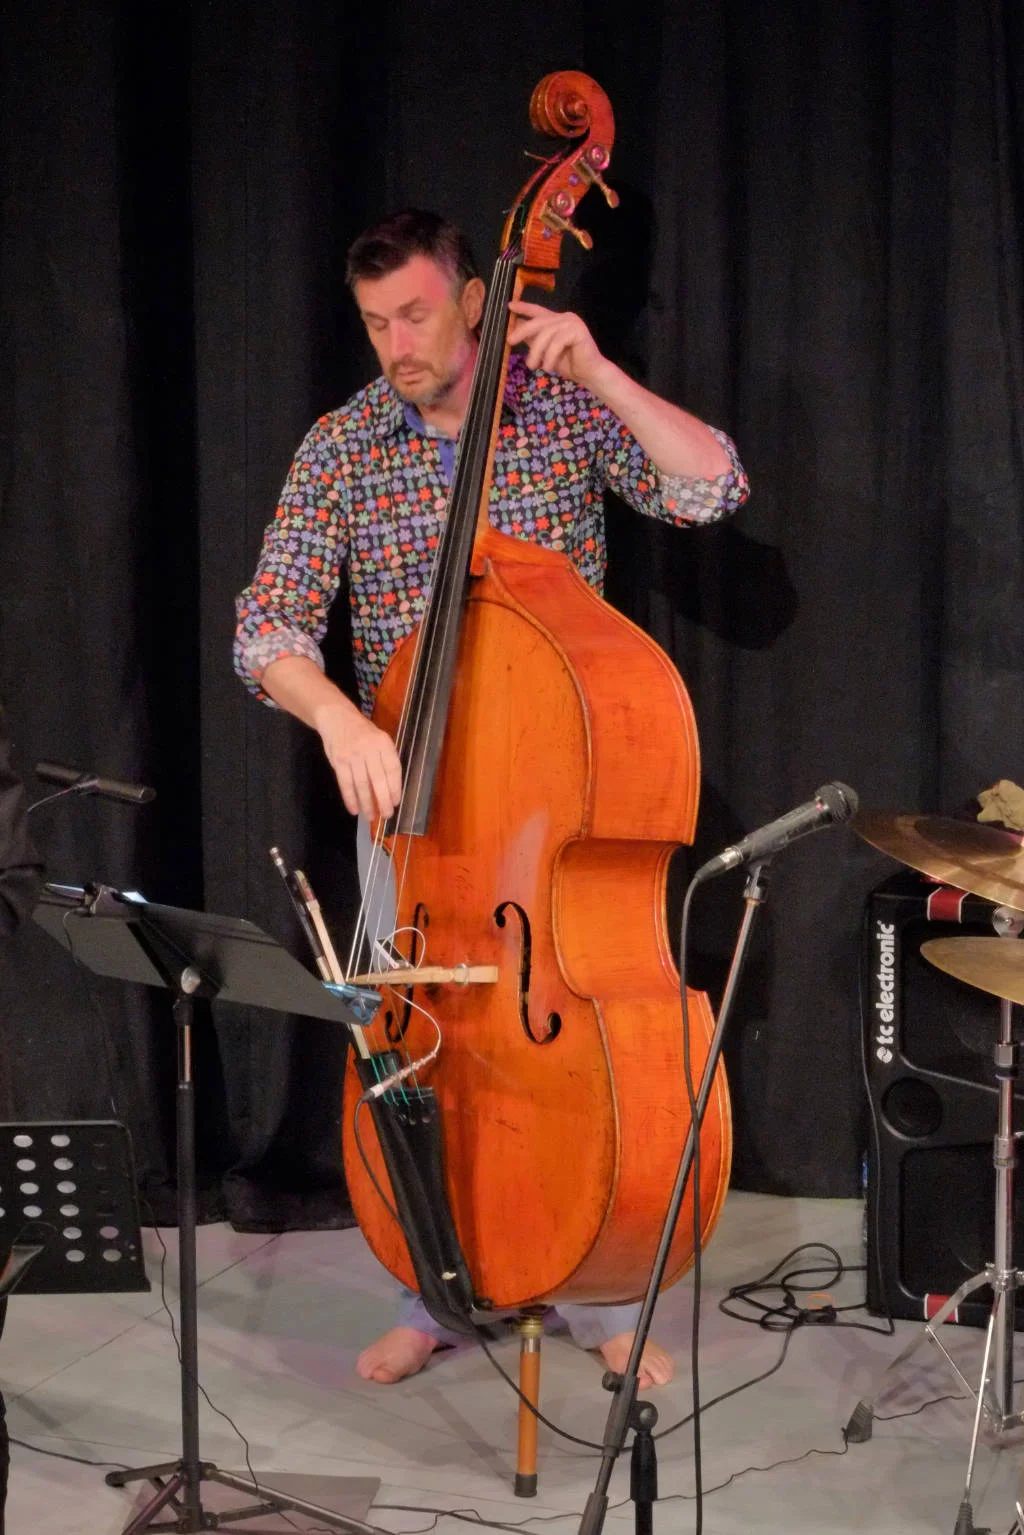
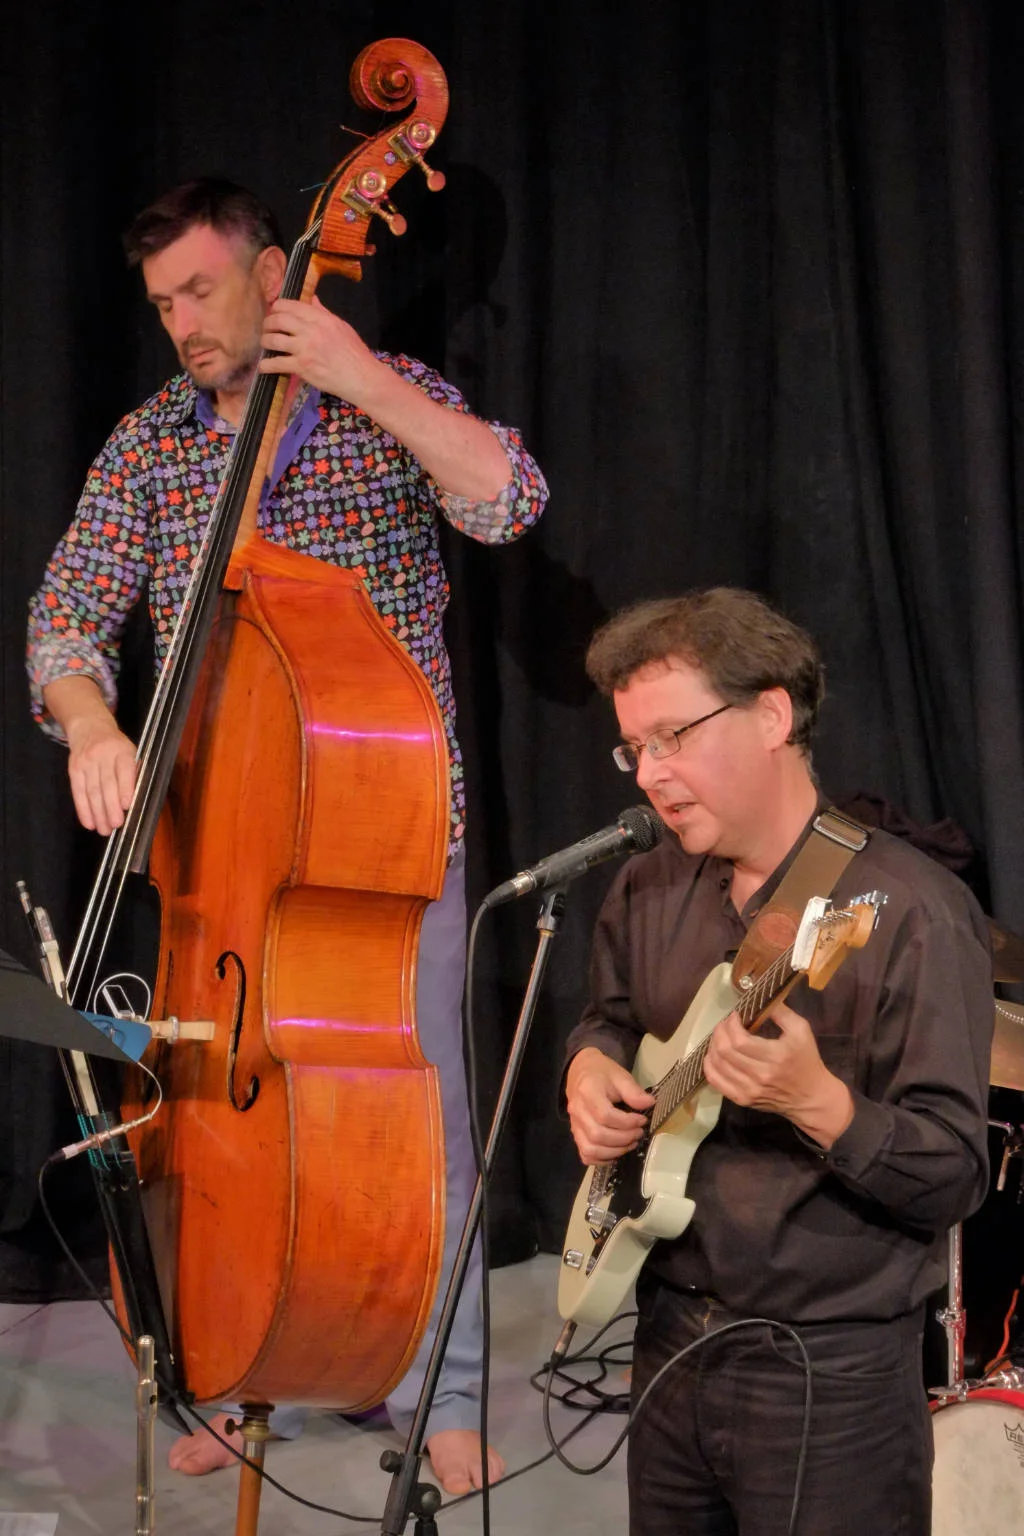
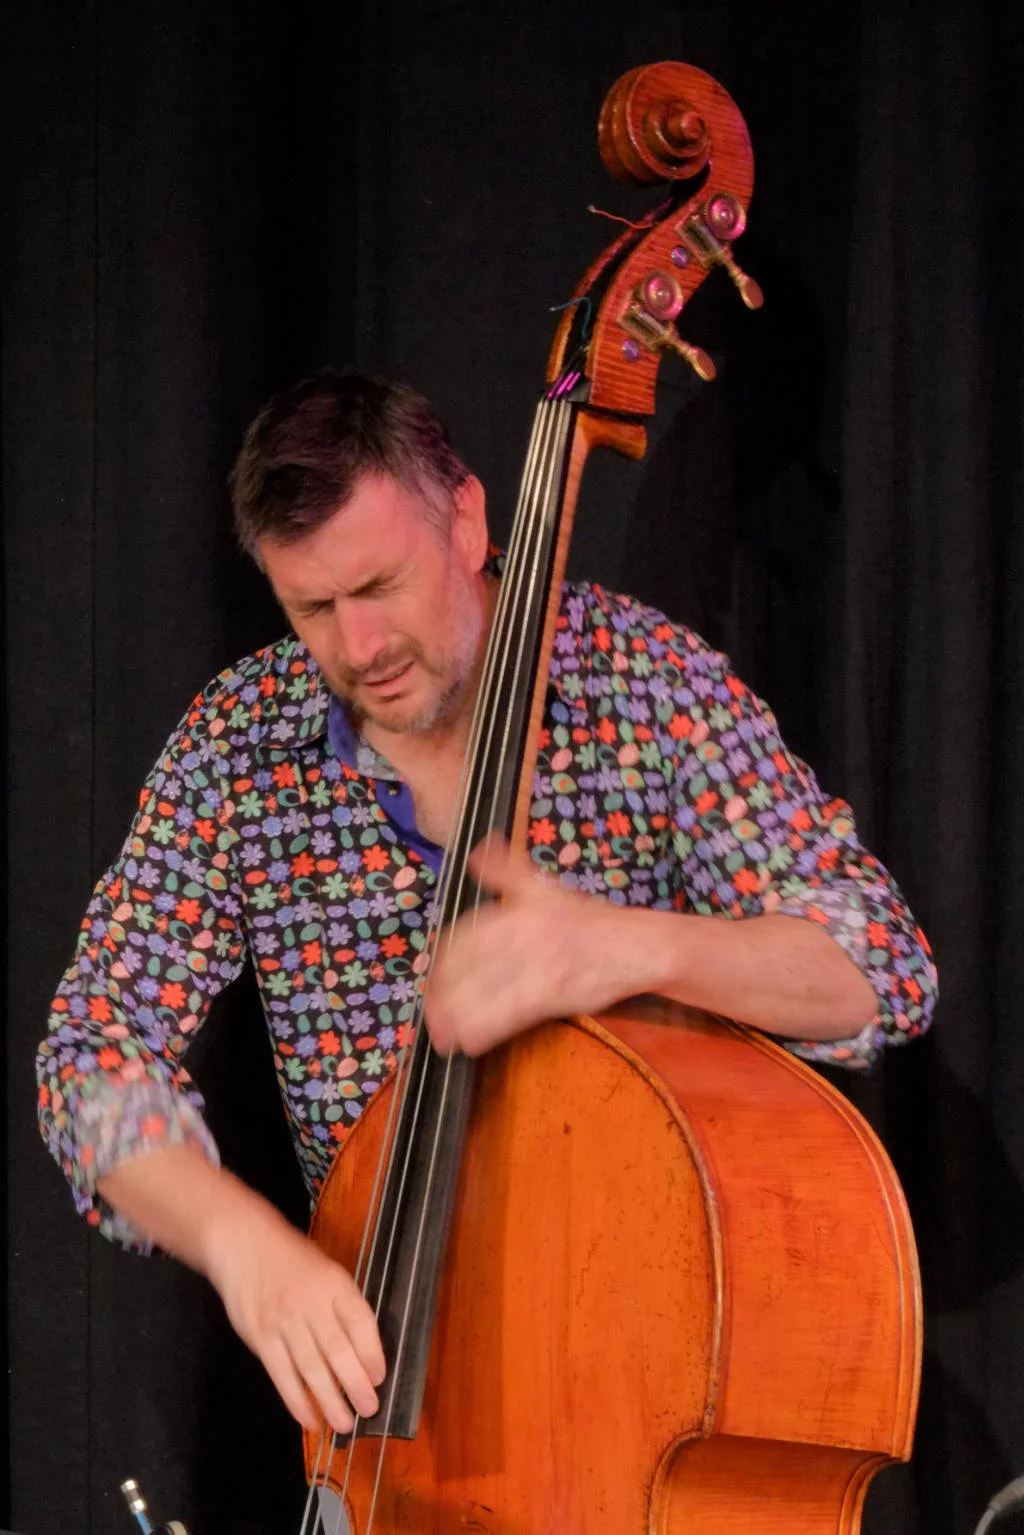
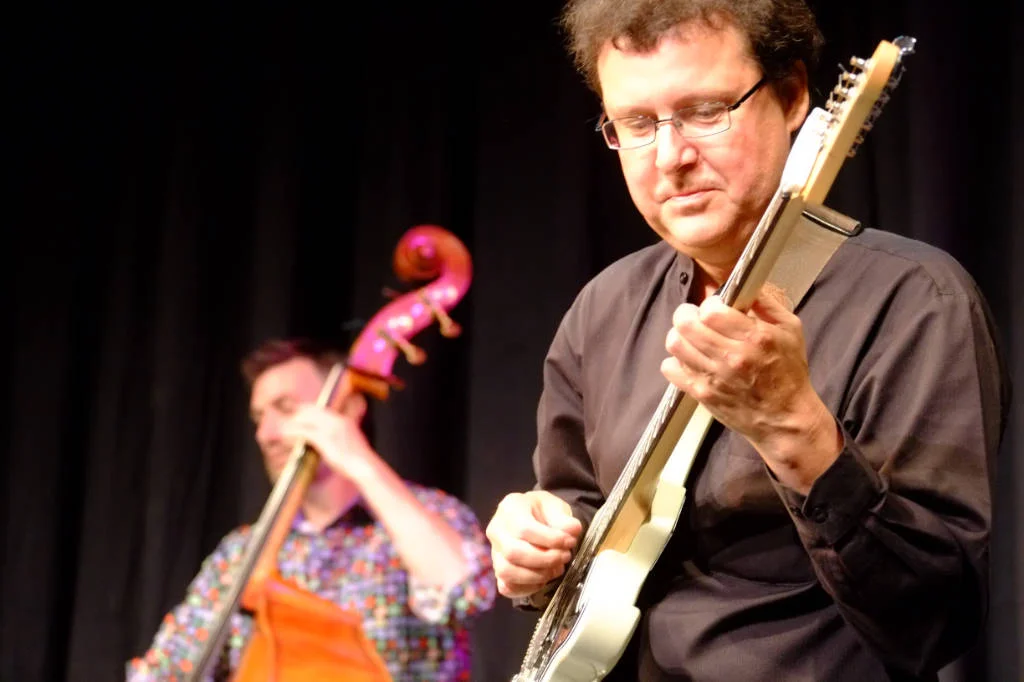
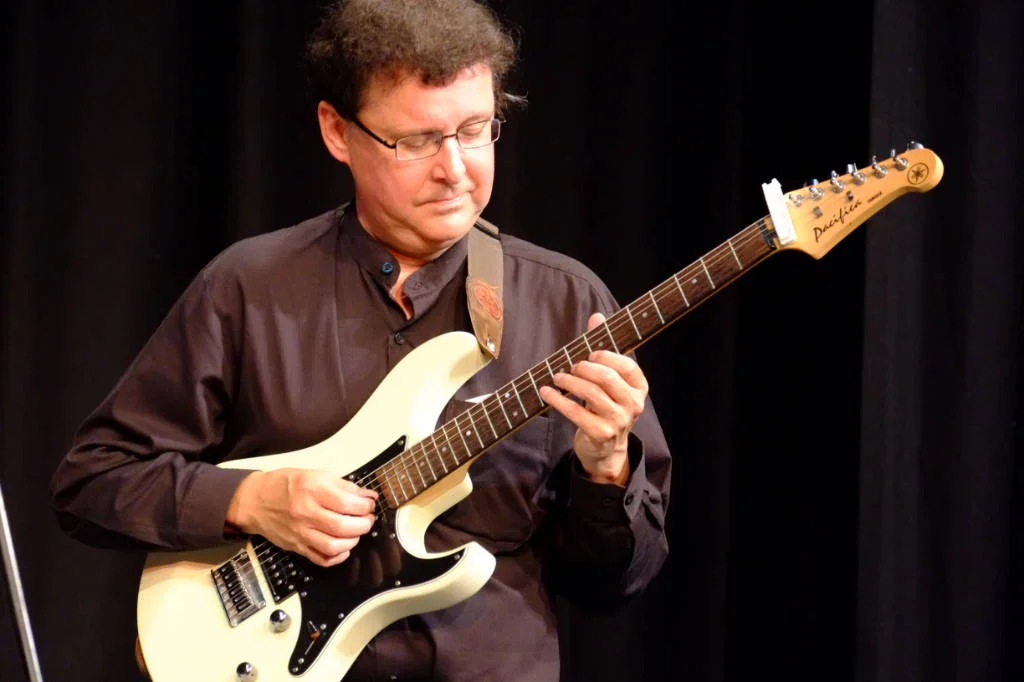
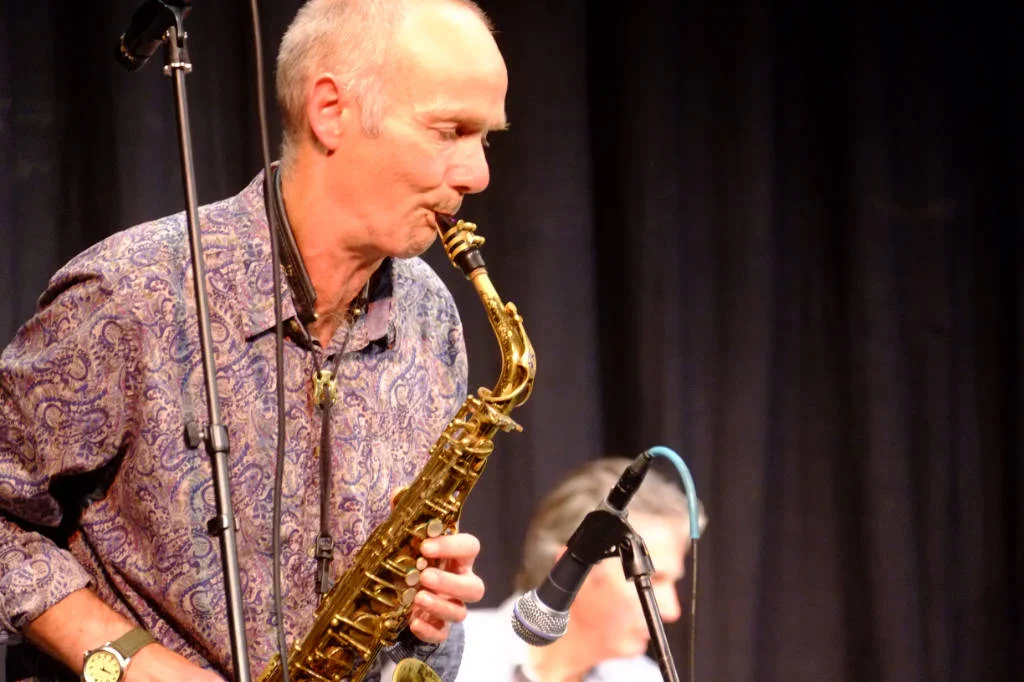
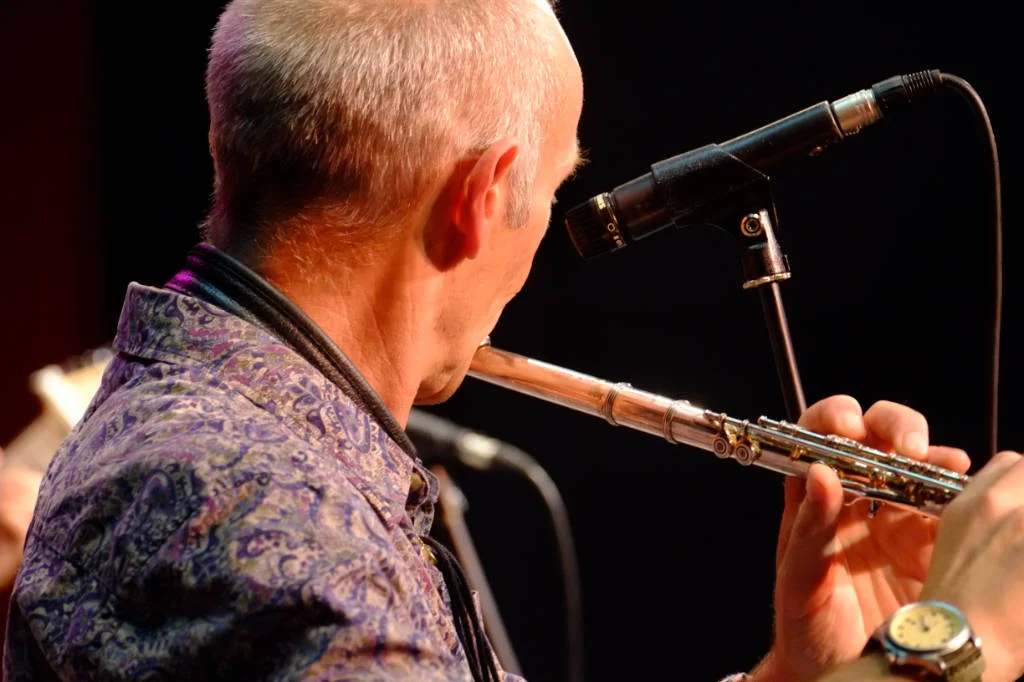
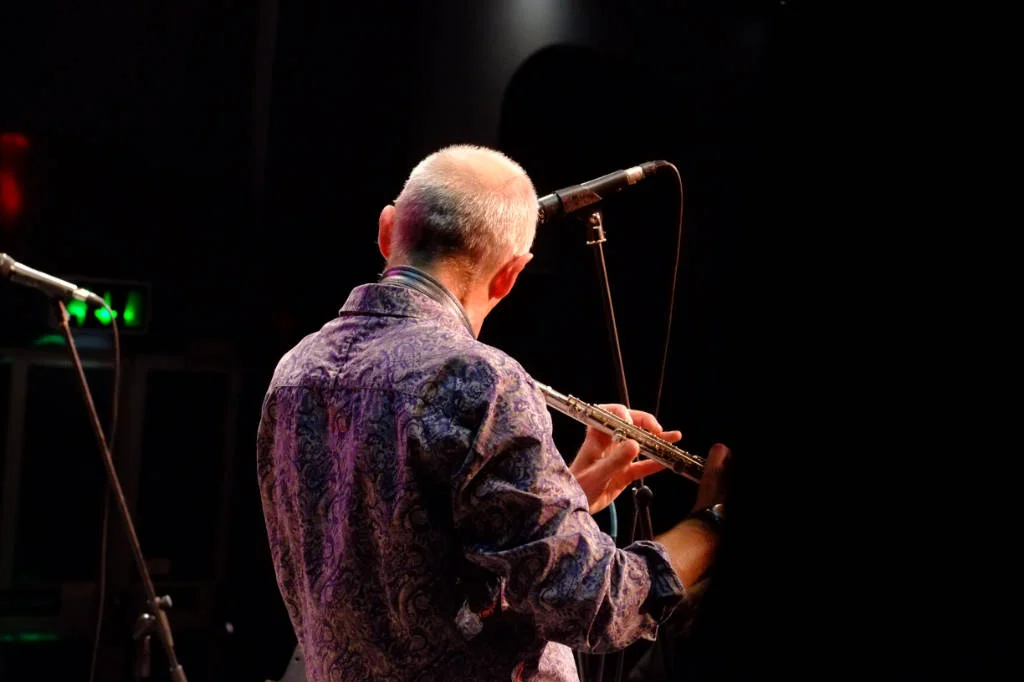
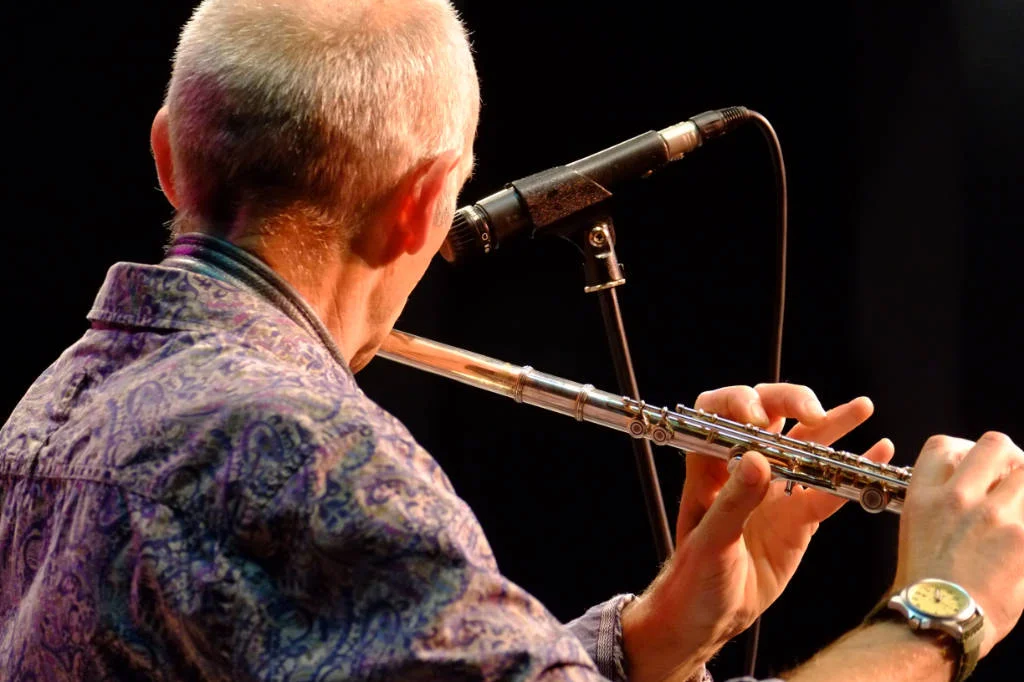
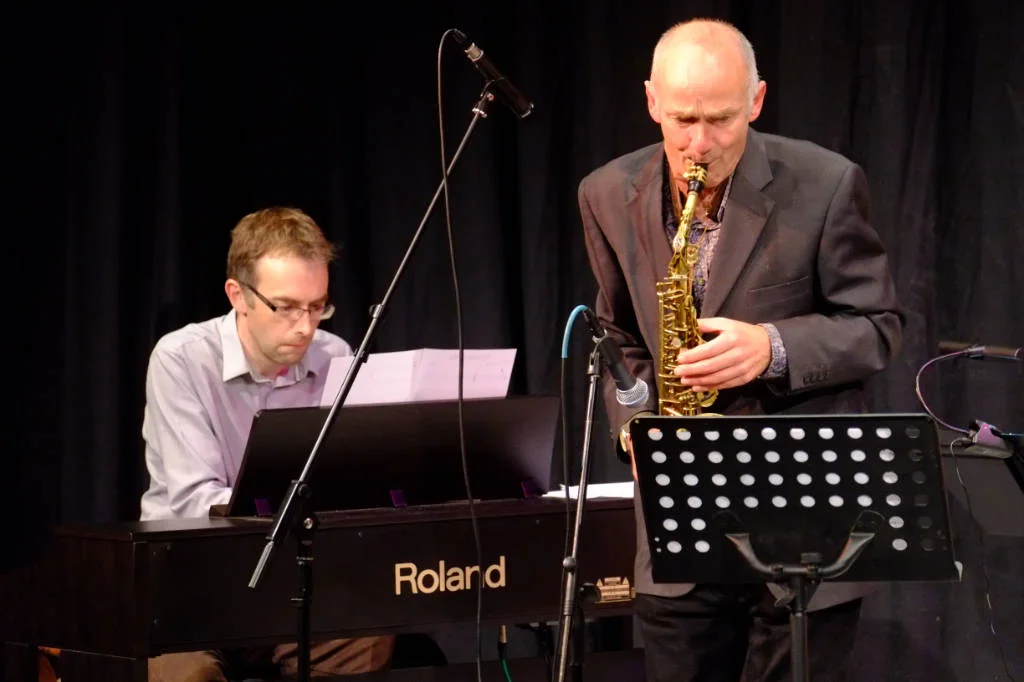
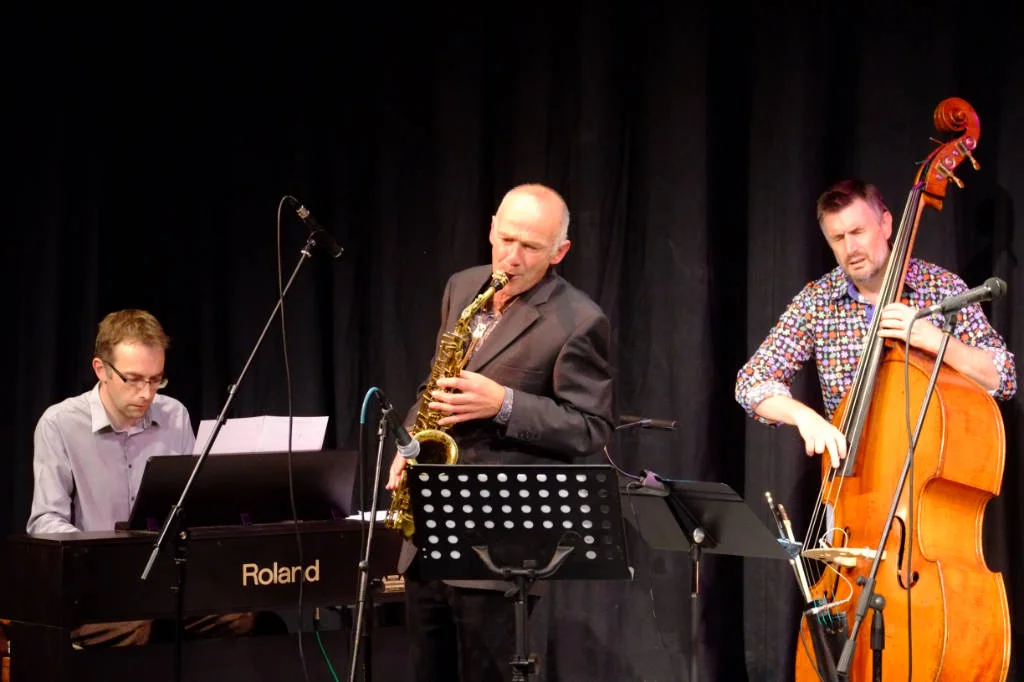
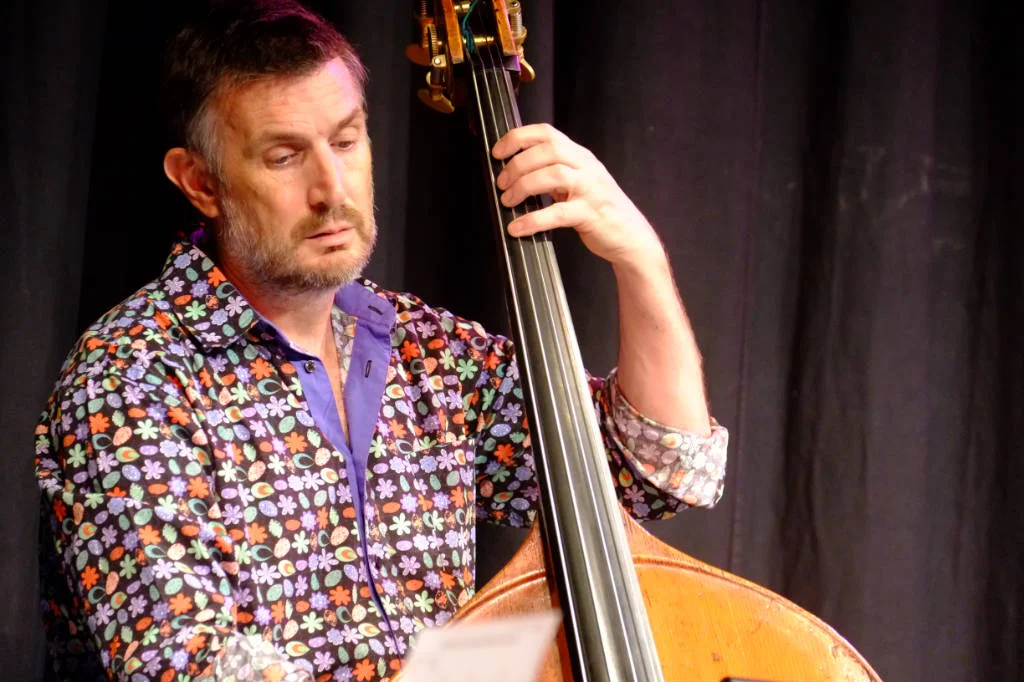
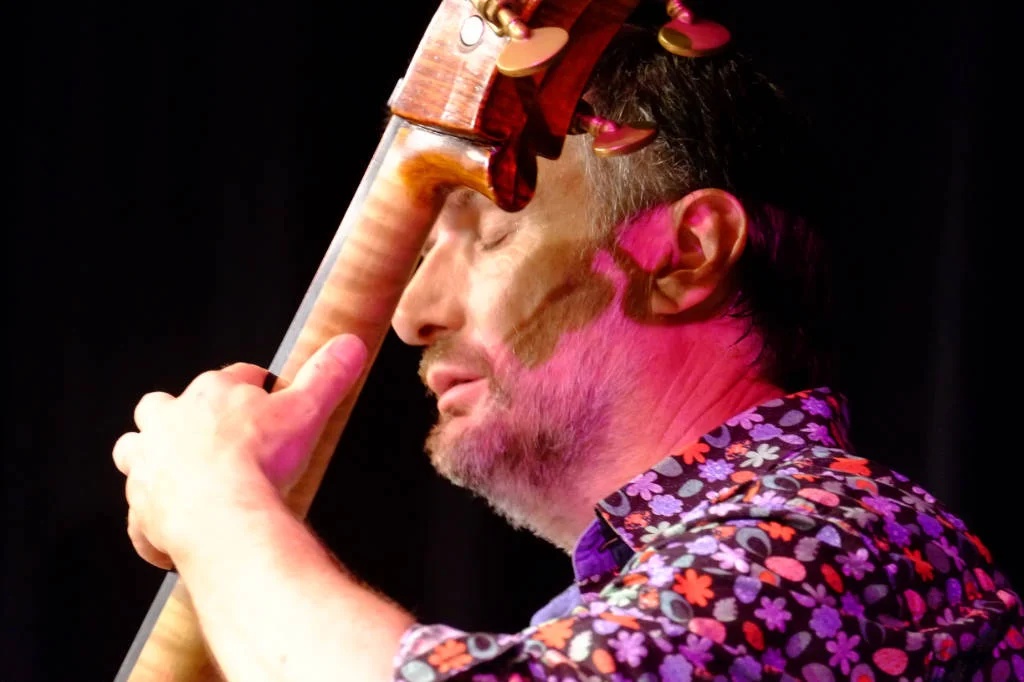
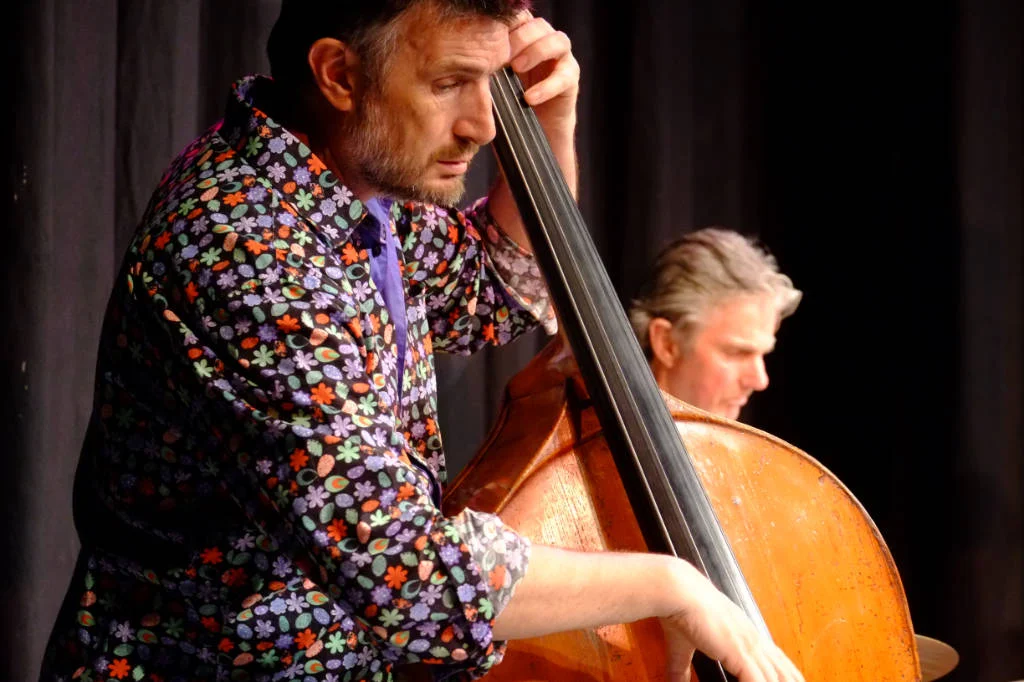
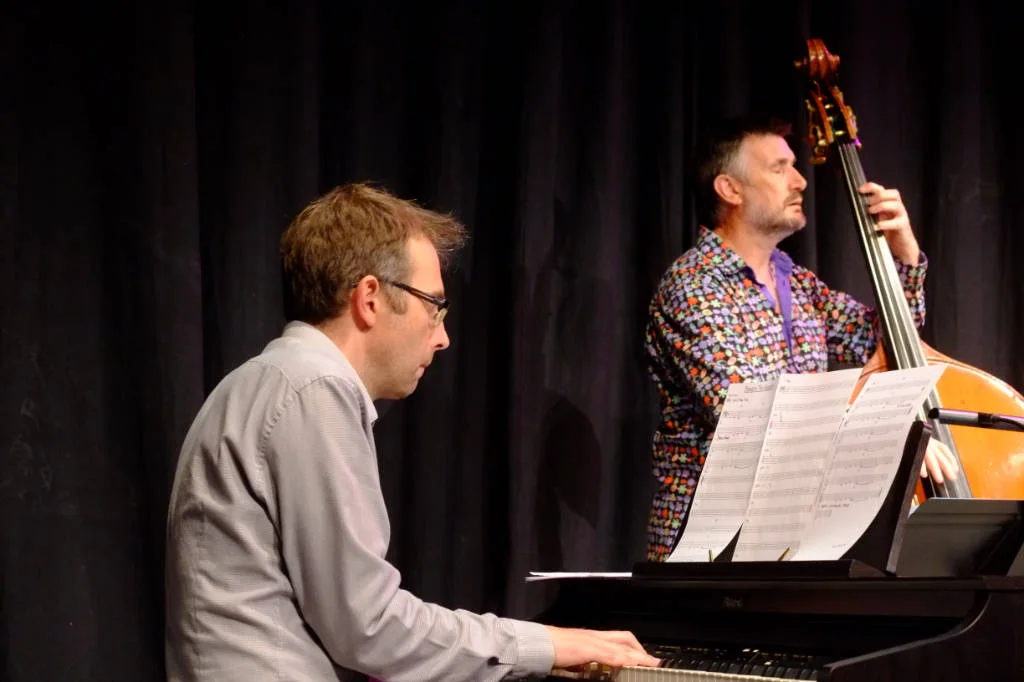
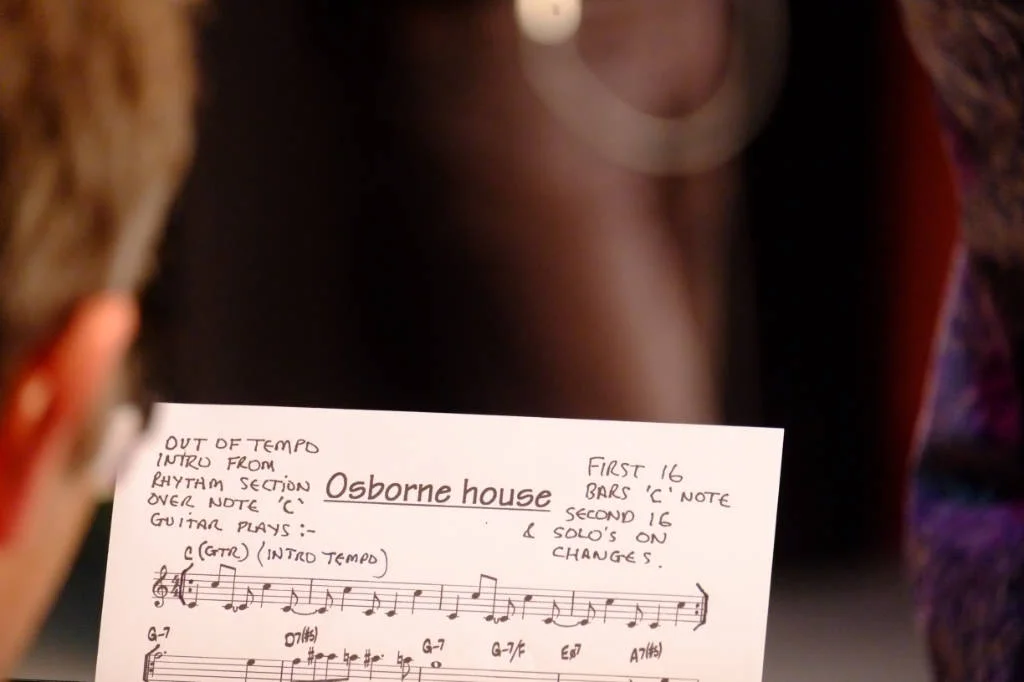
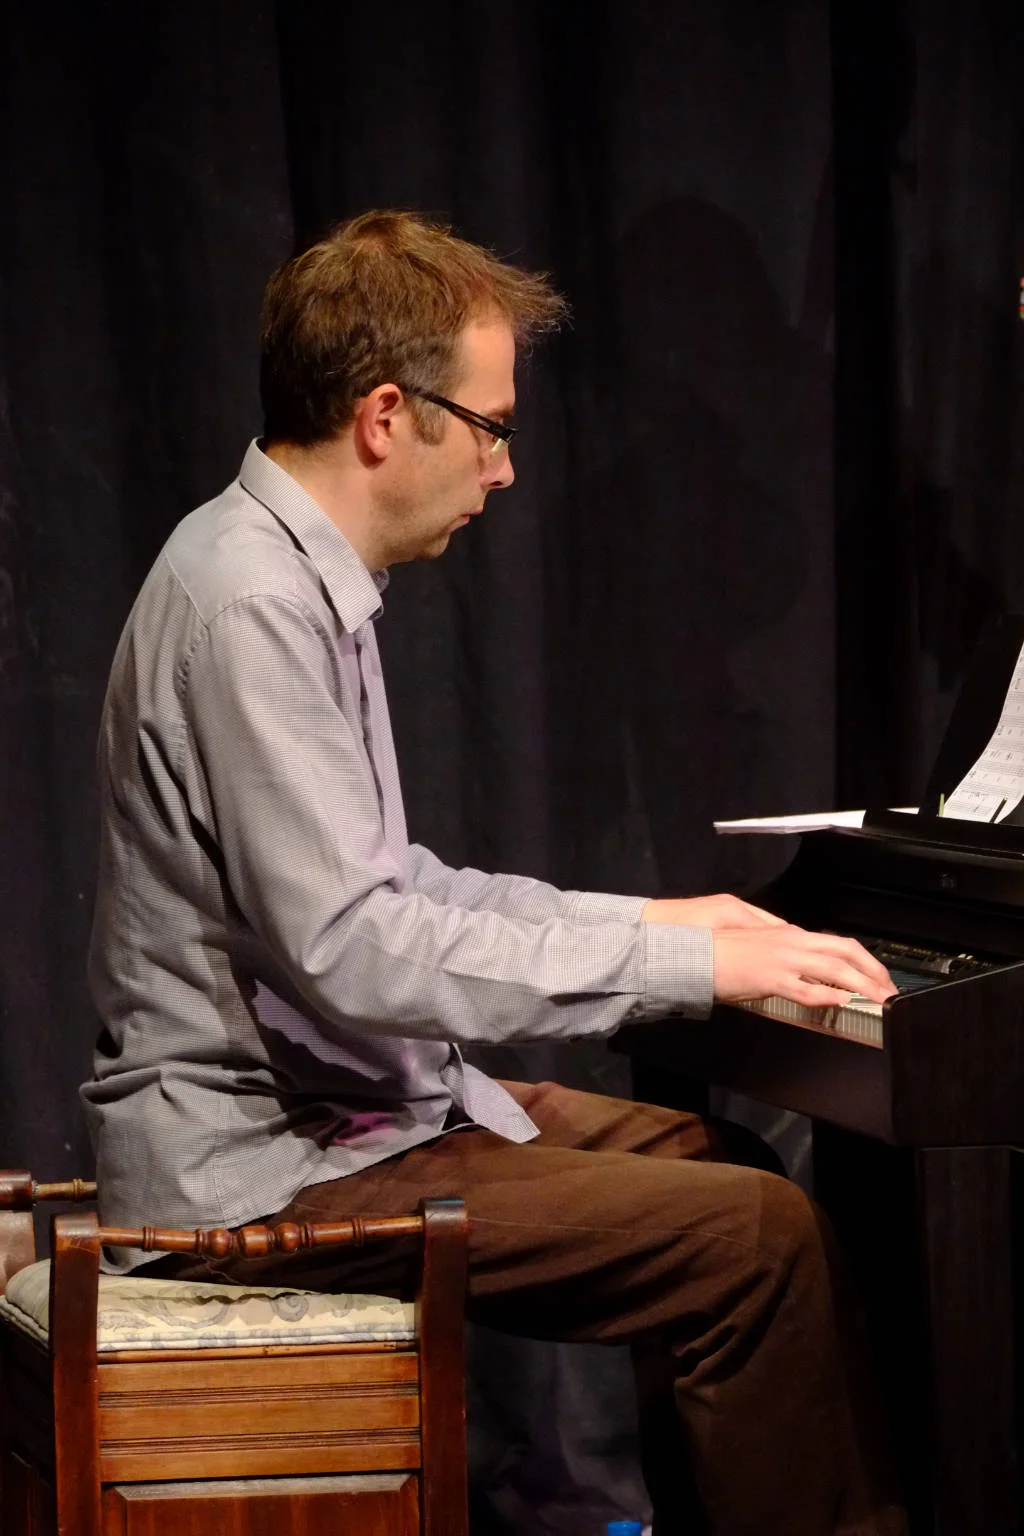
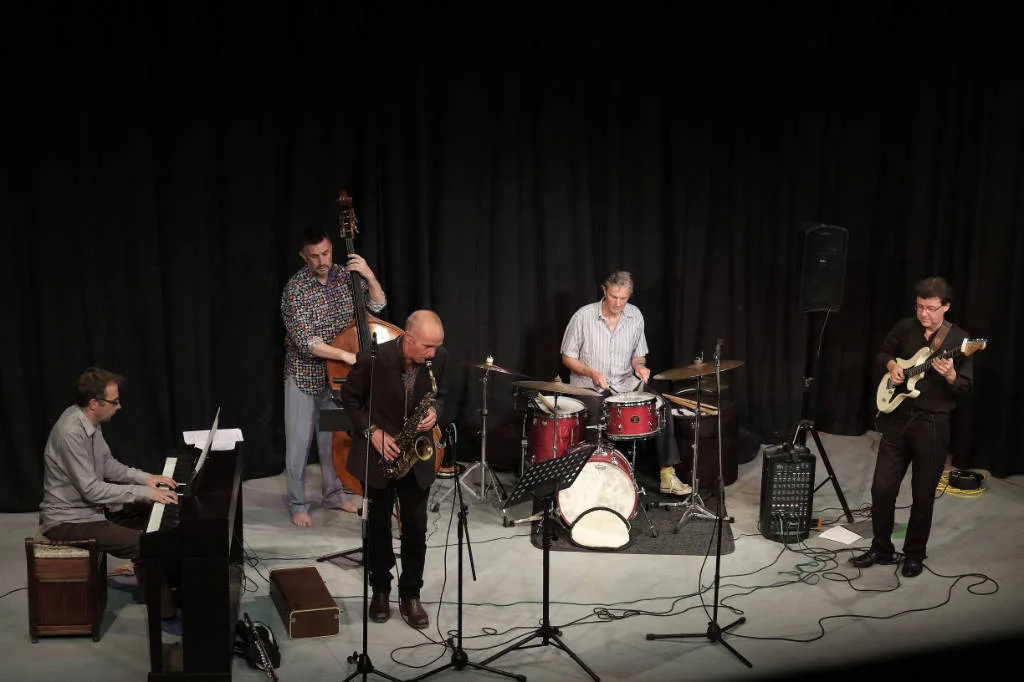
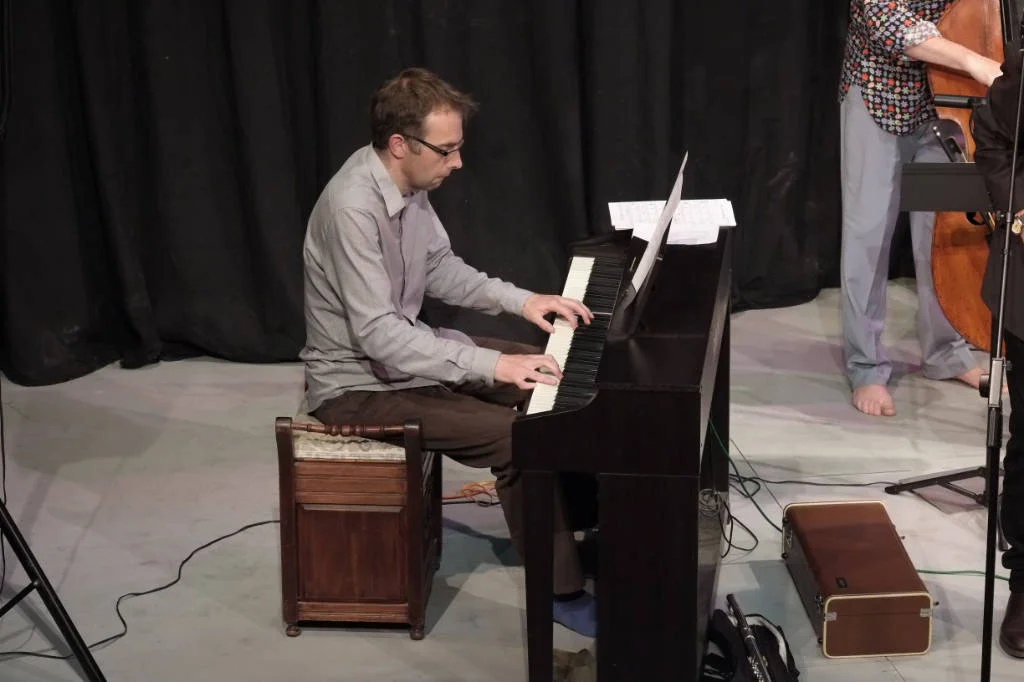
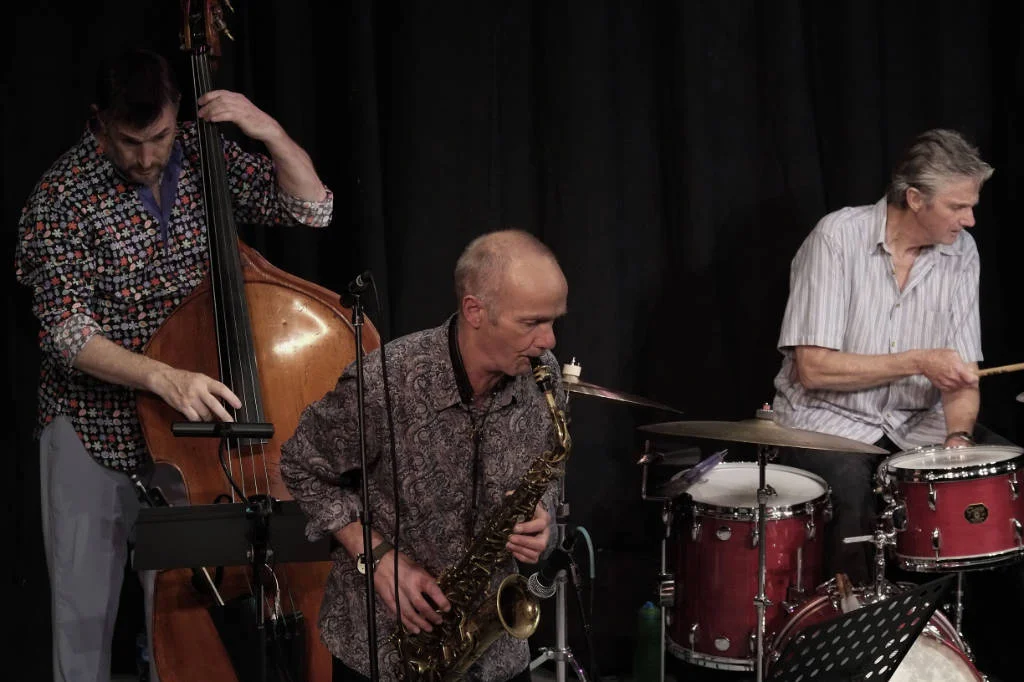
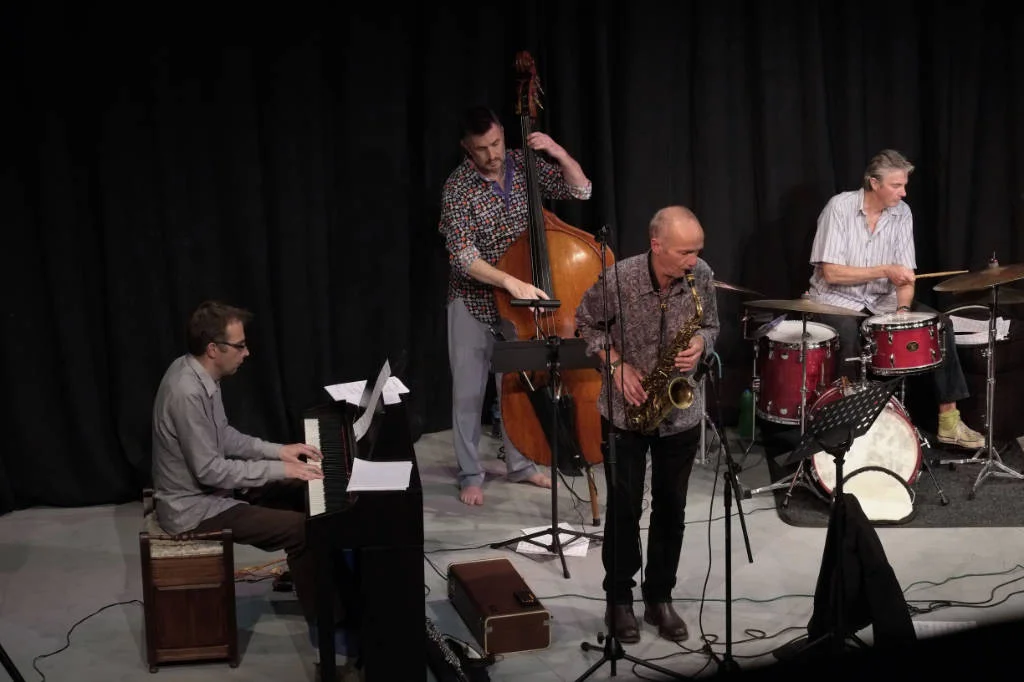
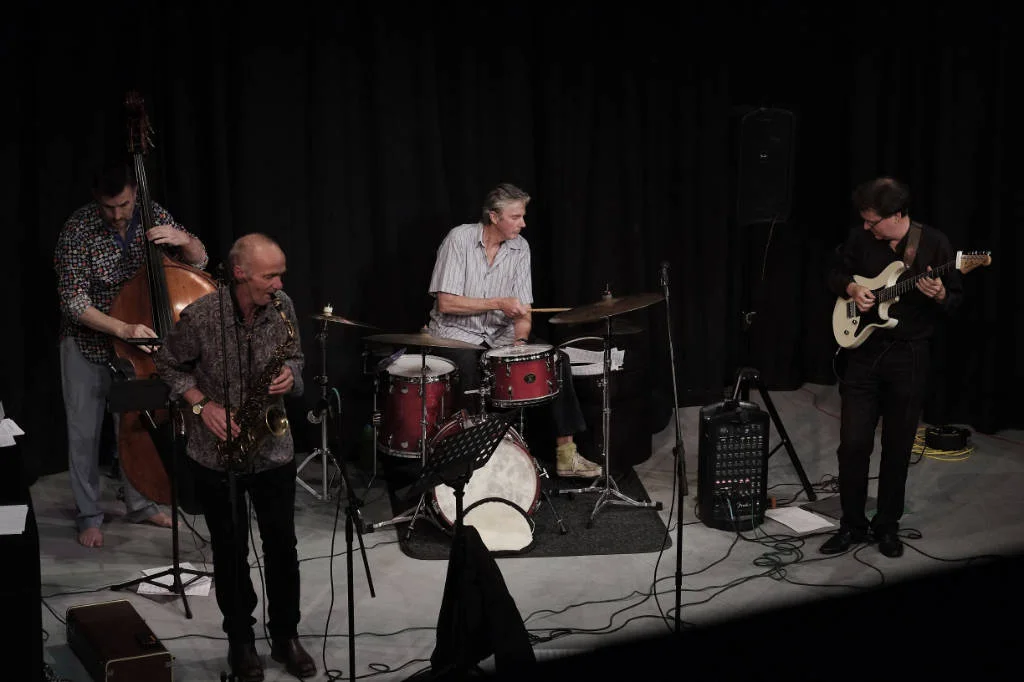
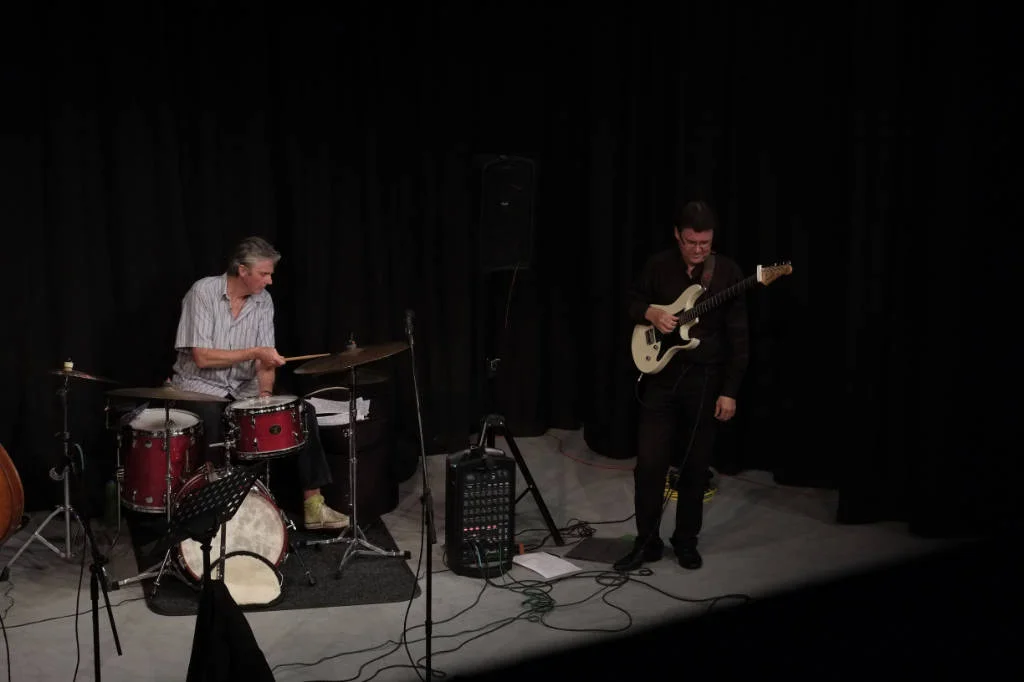
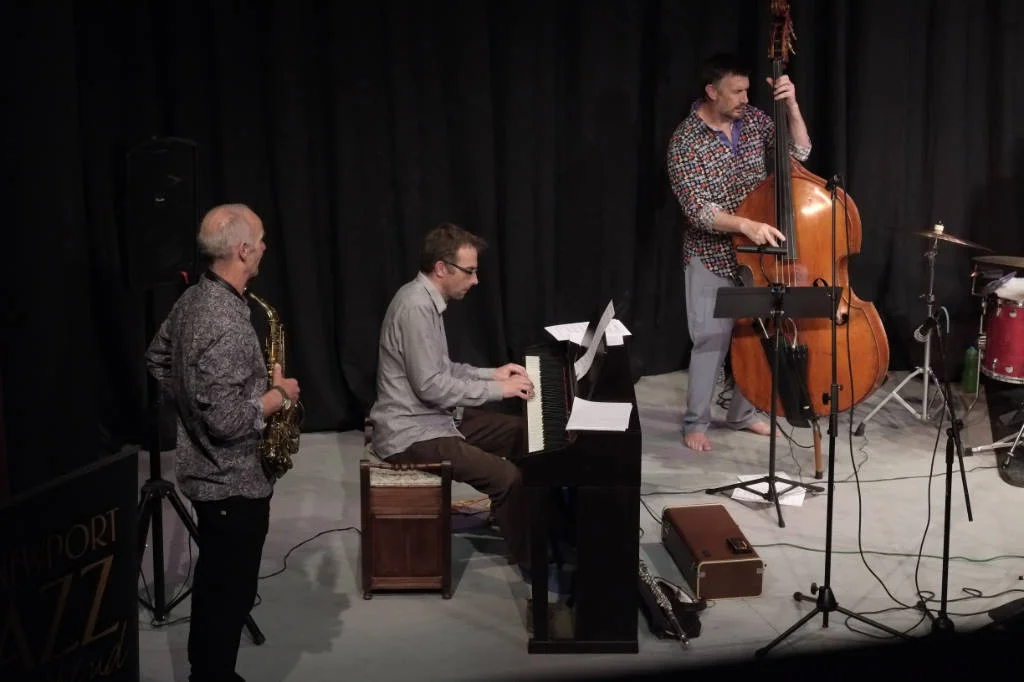
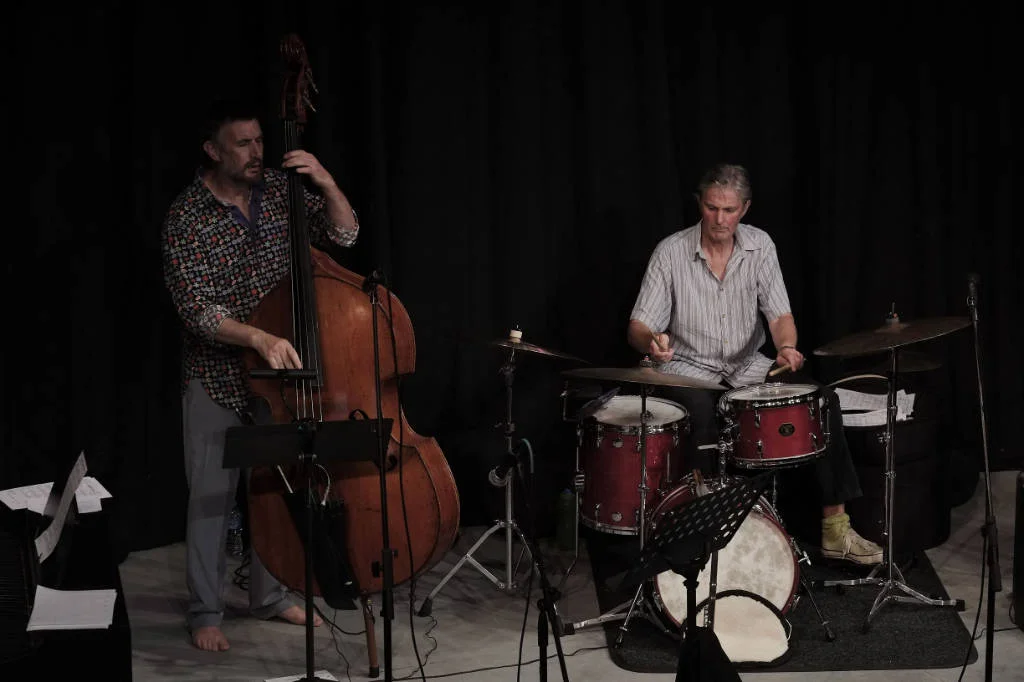
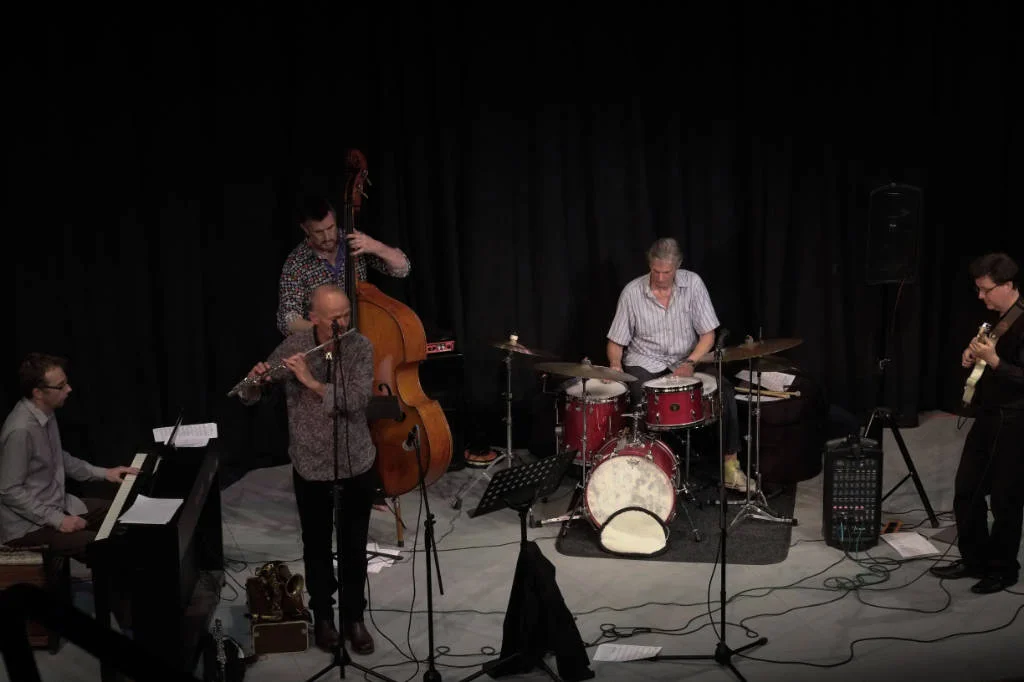
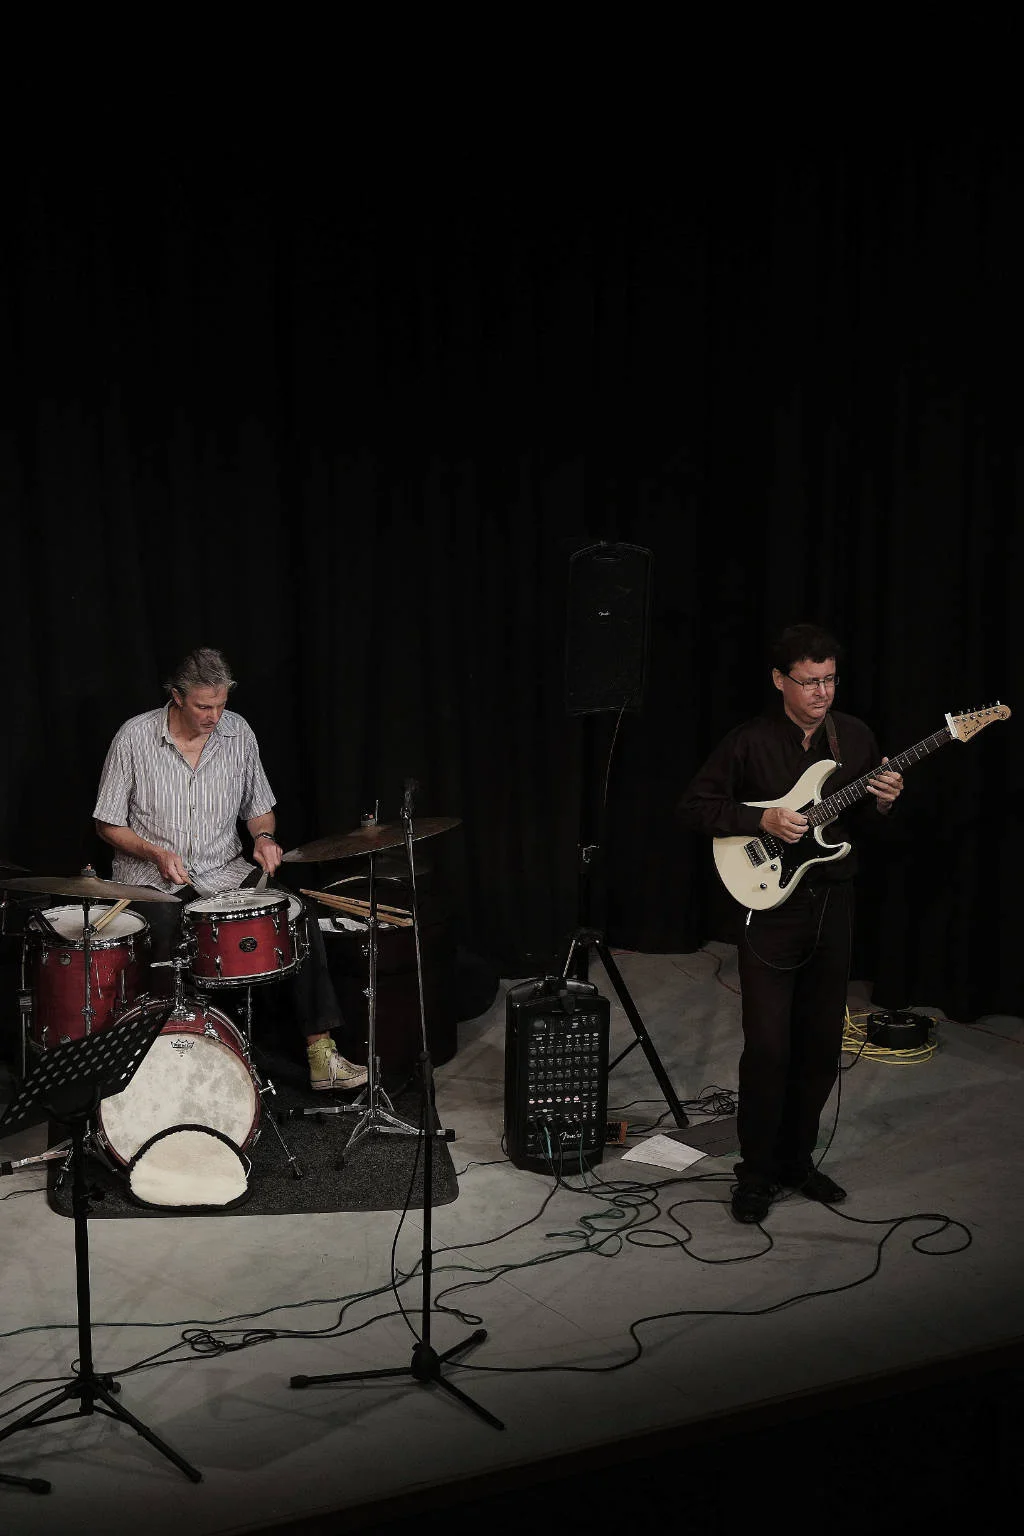
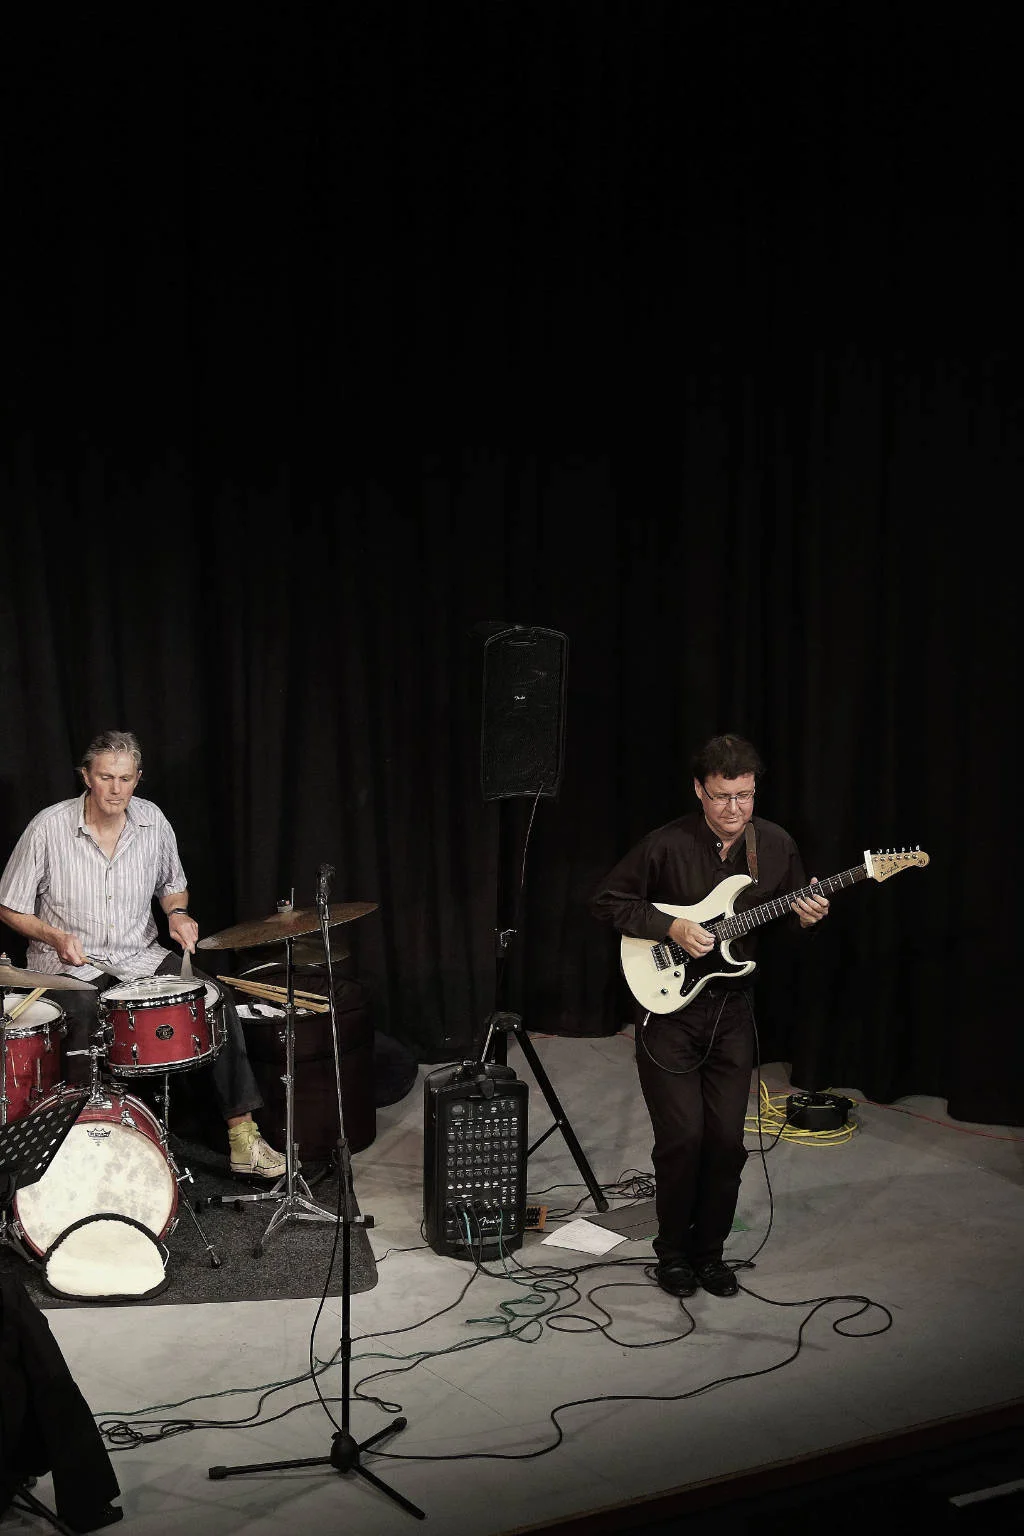
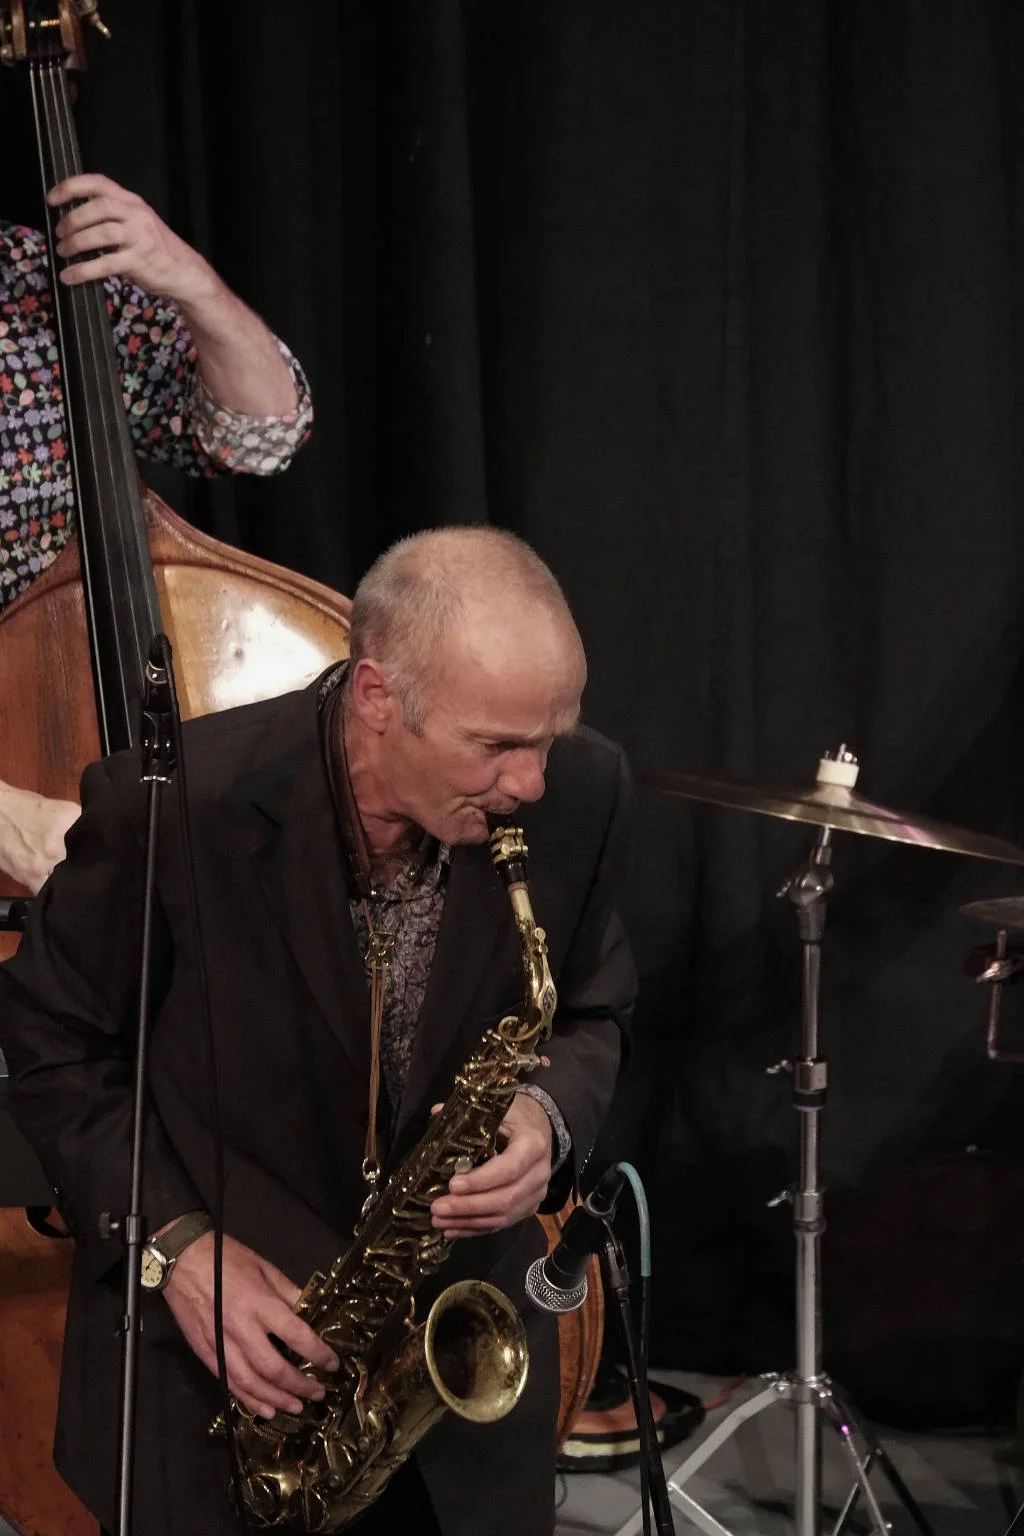
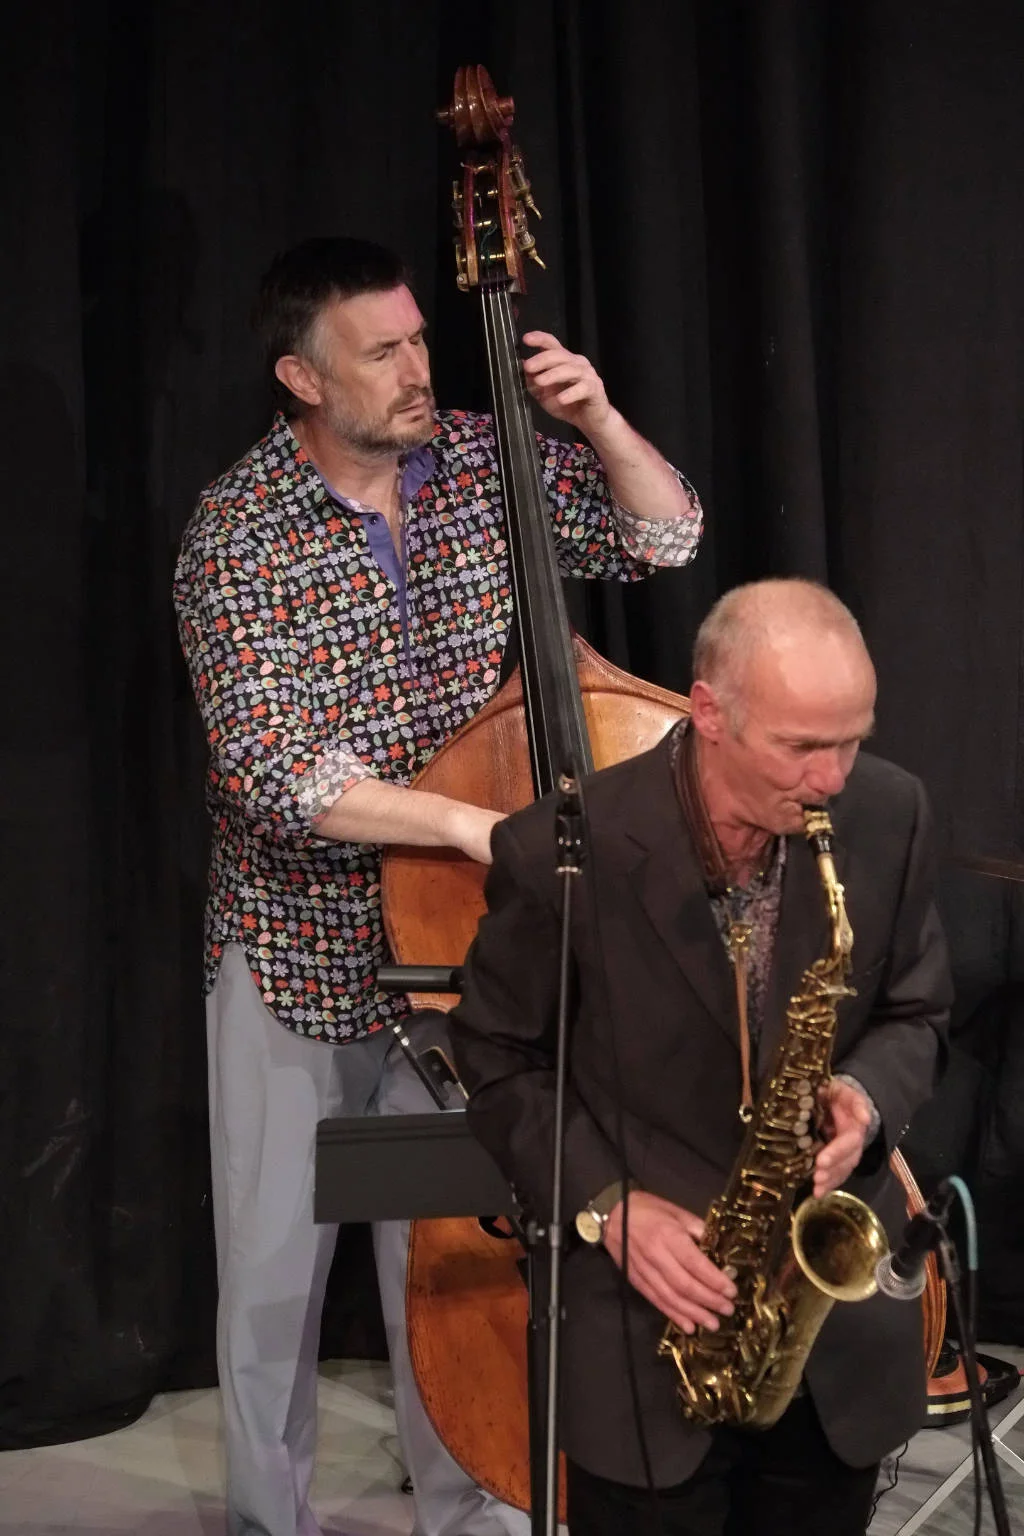
Photo: Ian Mitchell
Set: Ian Mitchell Images
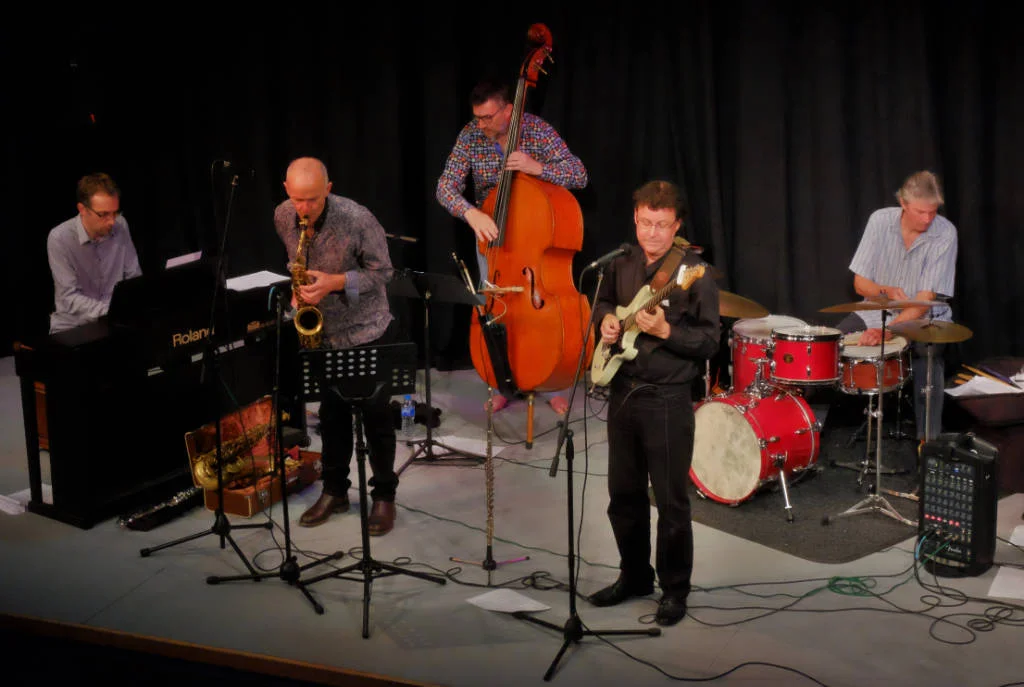
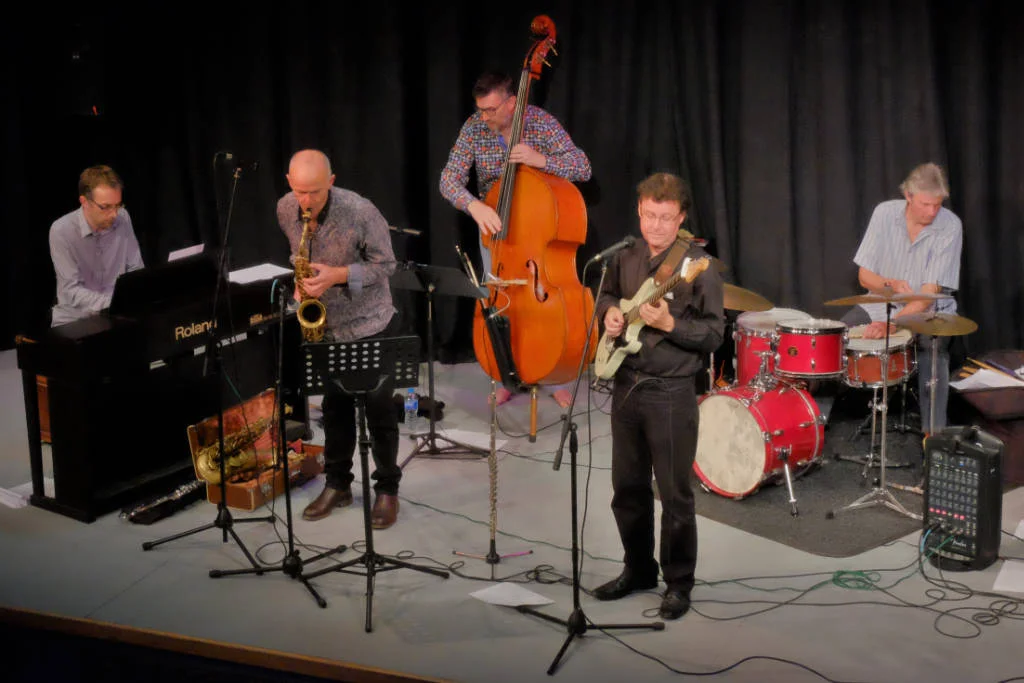
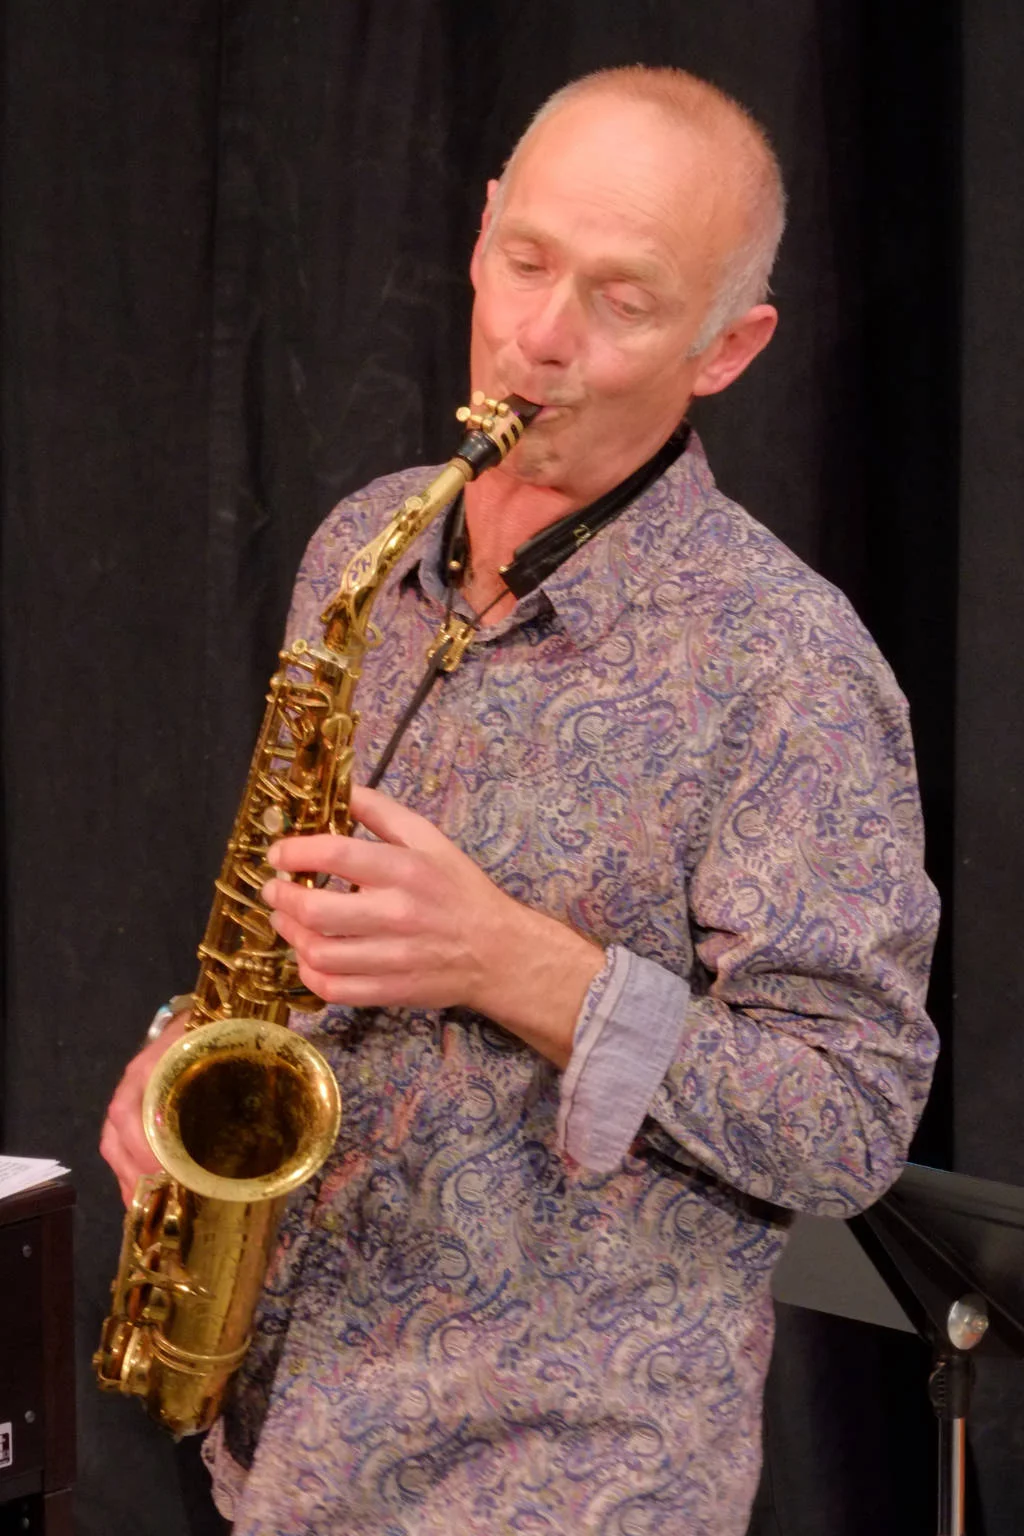
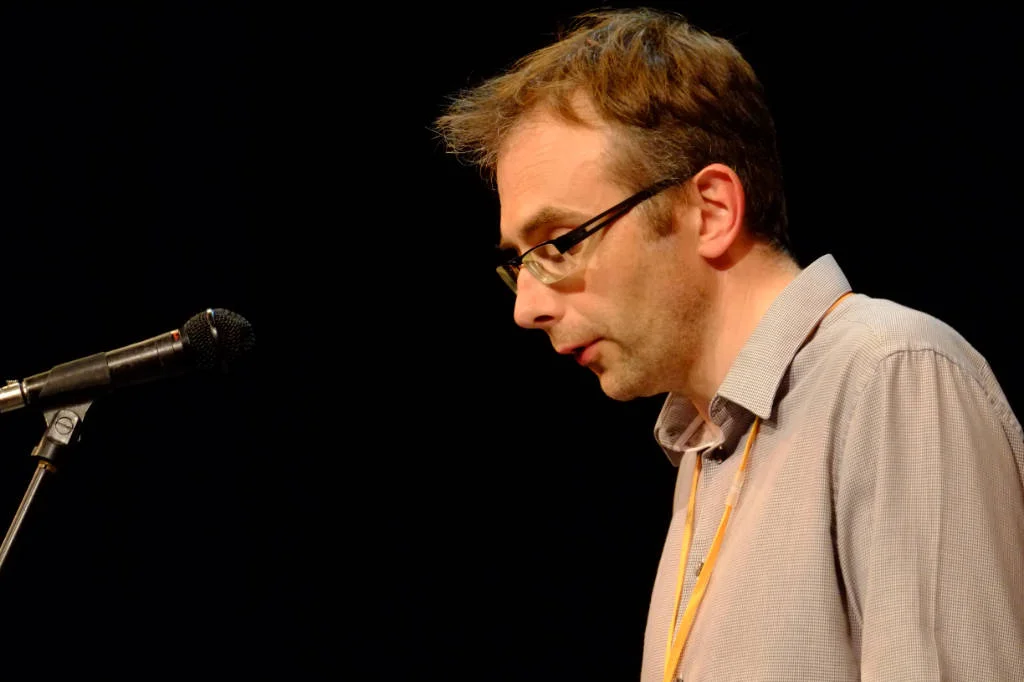
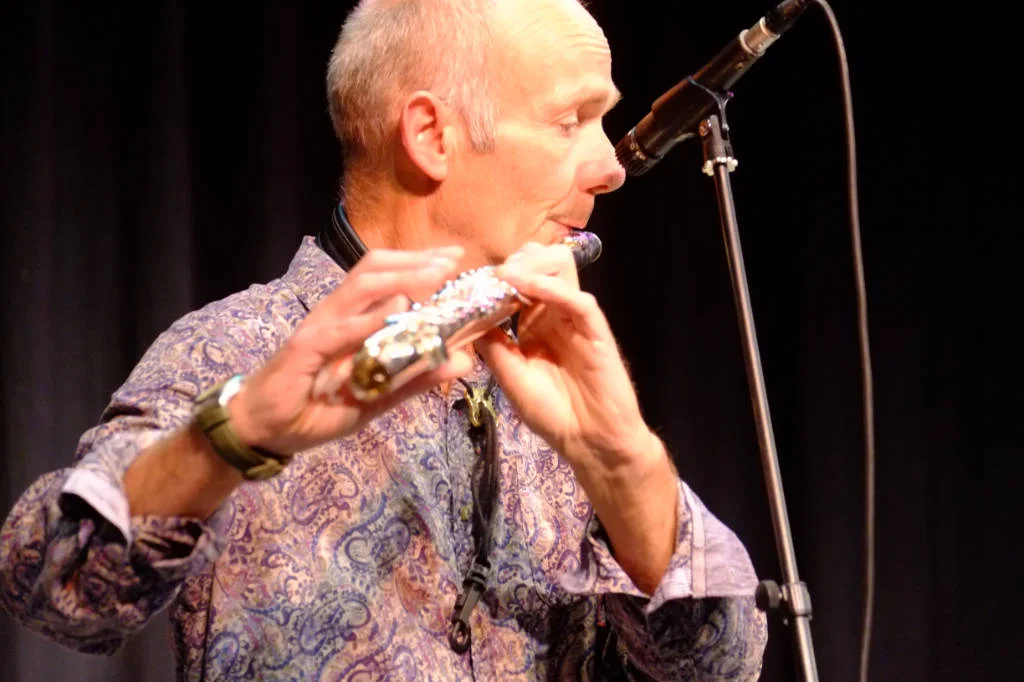
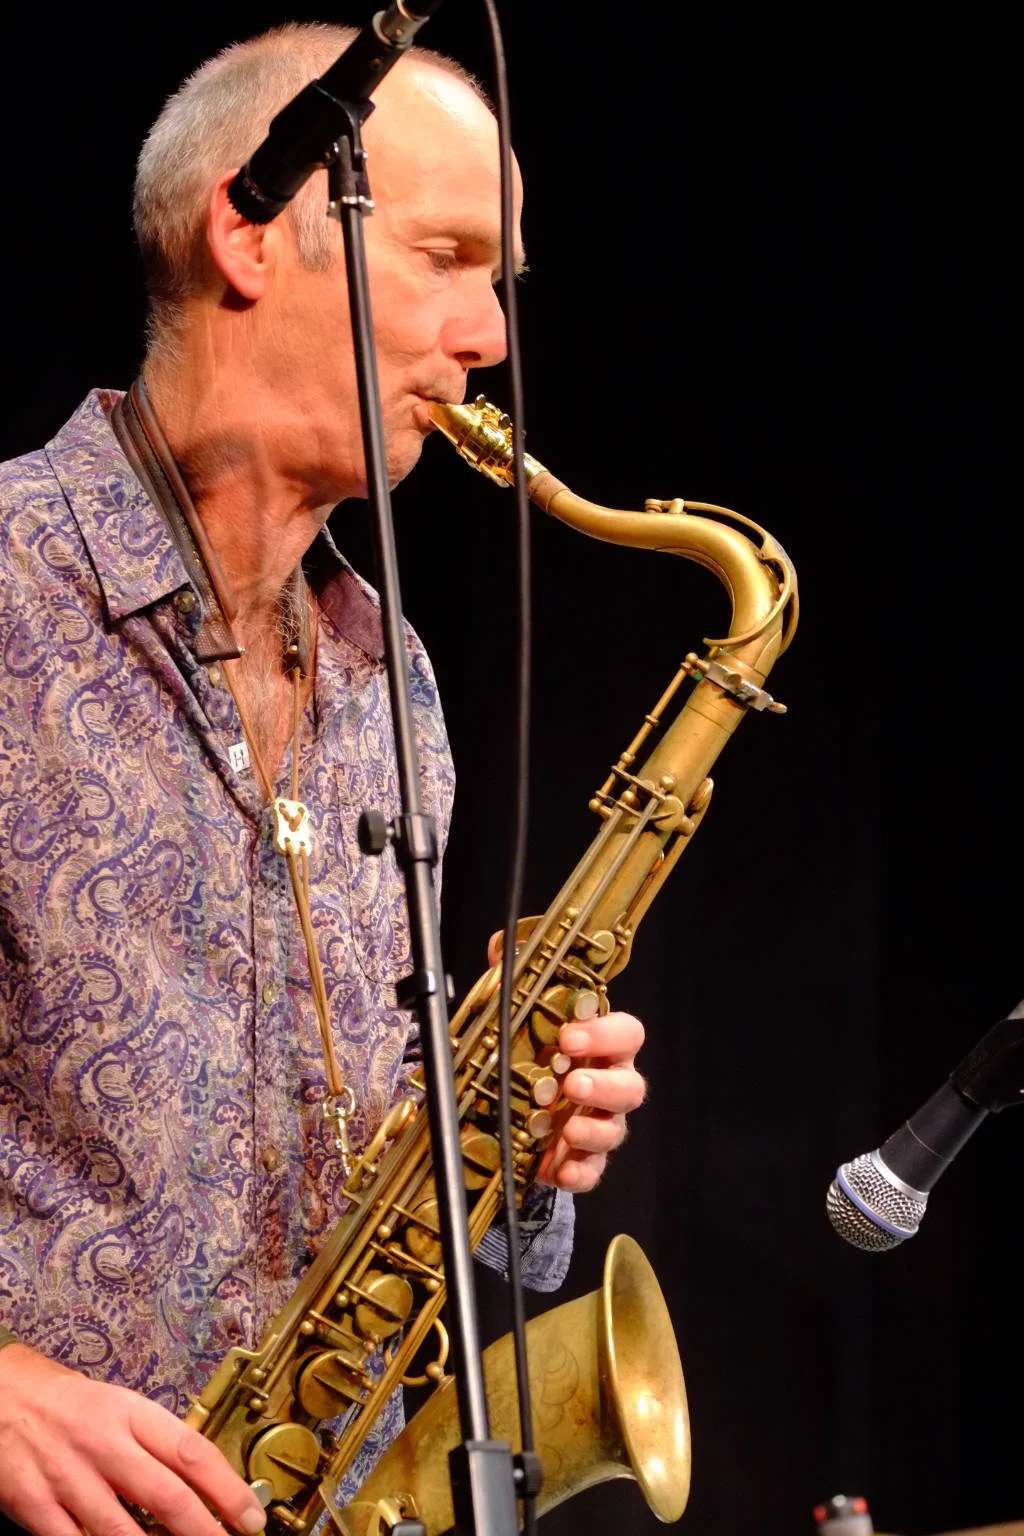
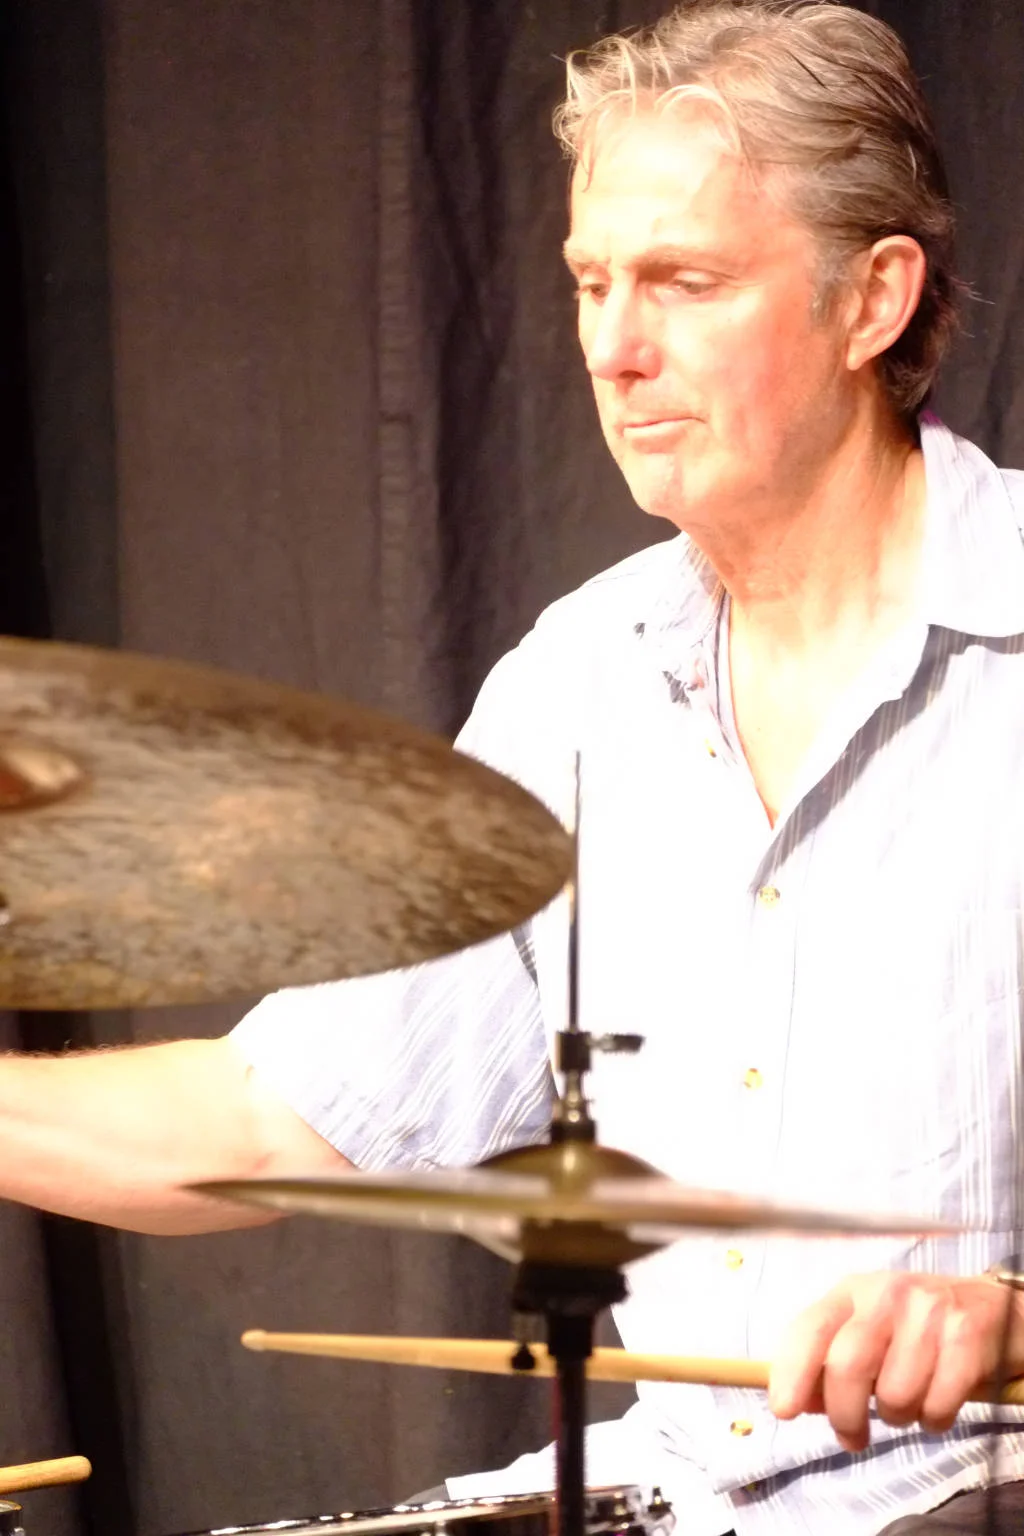
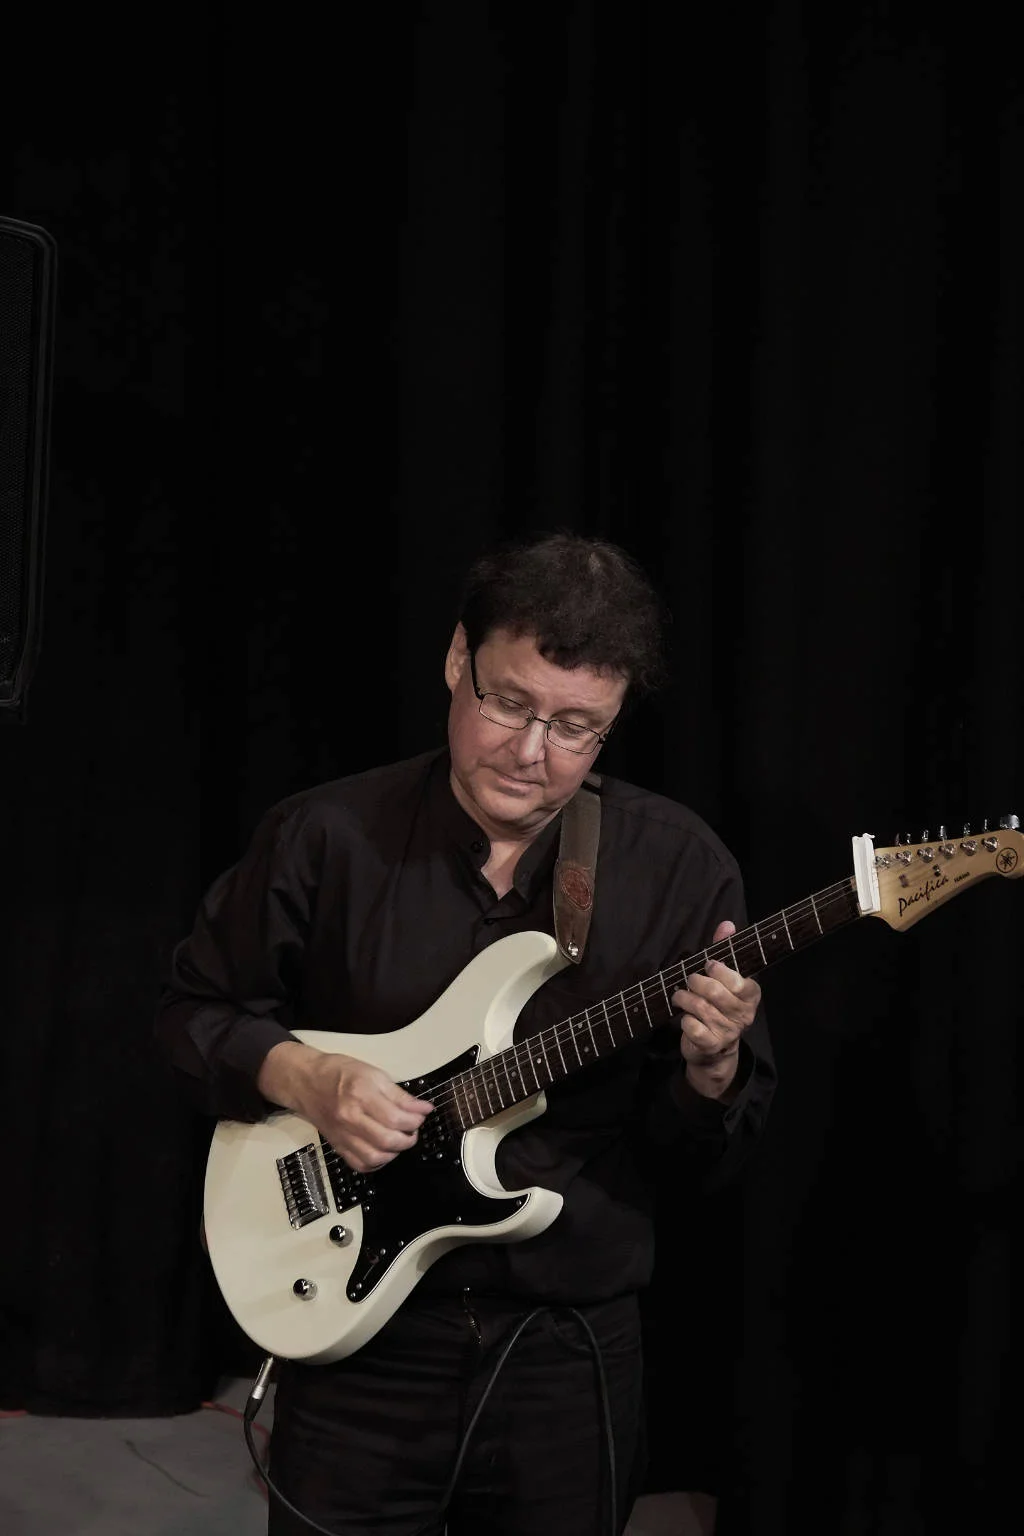
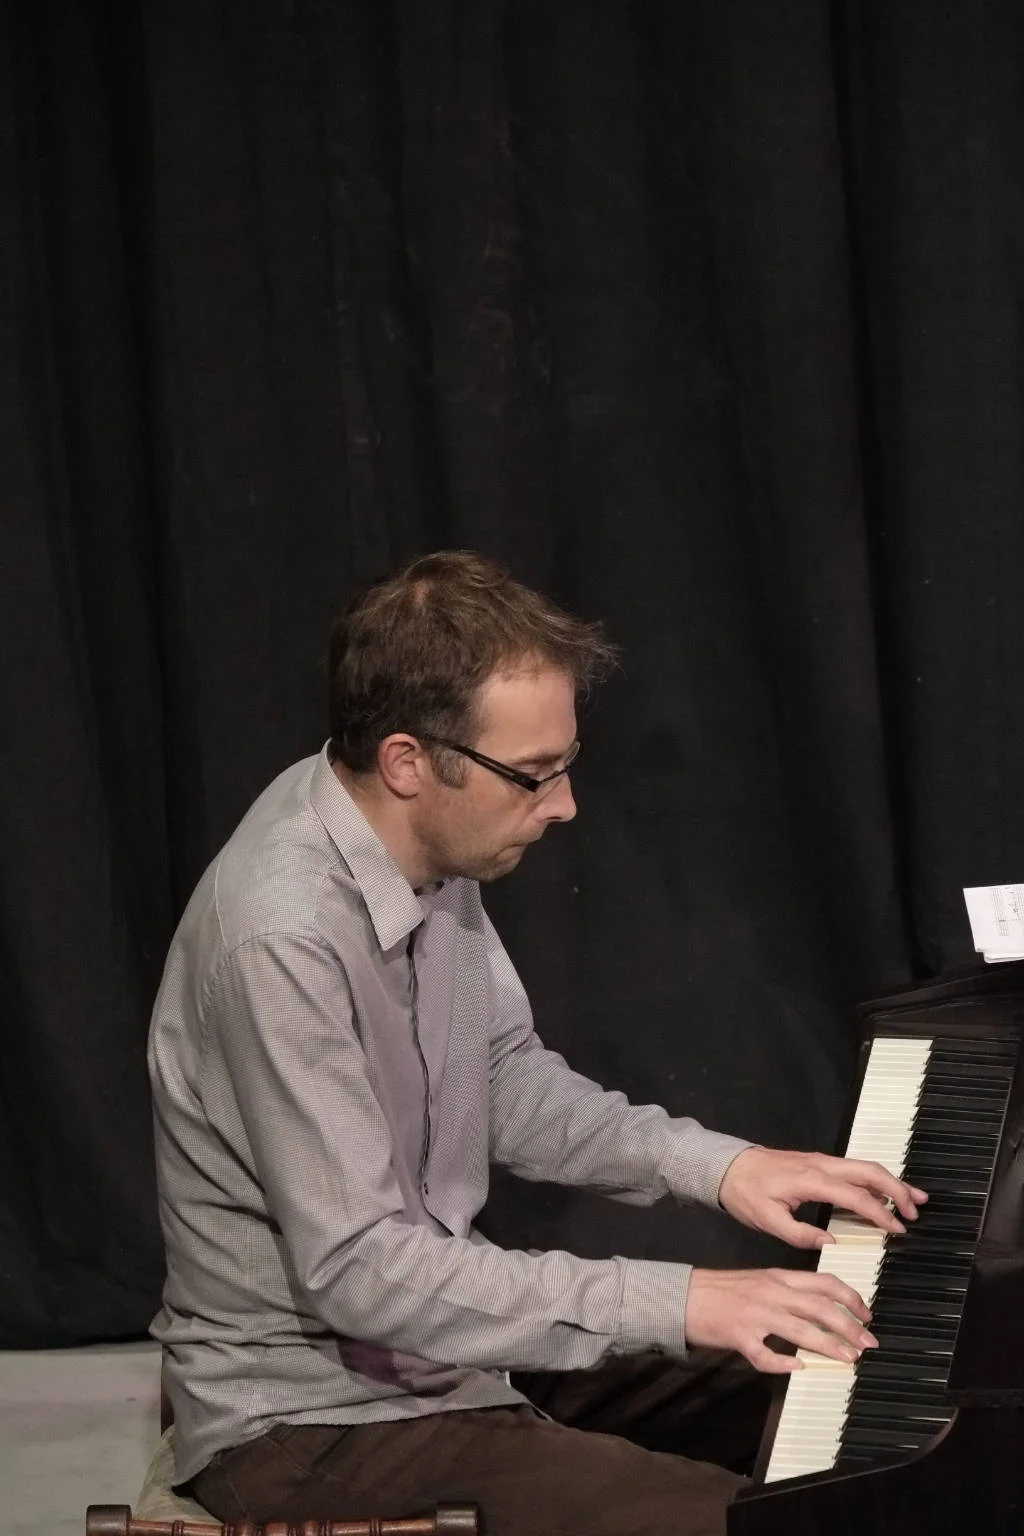
Photo: Walter Halberl
Set: Walter Haberl Images
Ian Mitchell Photography